Karve Kayak
Let's Get Started
This page is a comprehensive resource on best practices, safety and maintenance tips for your new Karve Kayak.
Questions? Call (or text) 651-560-2038. Otherwise, email support@paddlenorth.com. Our team is here to ensure you have a blast on the water. Thank you for supporting our small business.
Overline text
What's Inside?

9'11" Karve Kayak
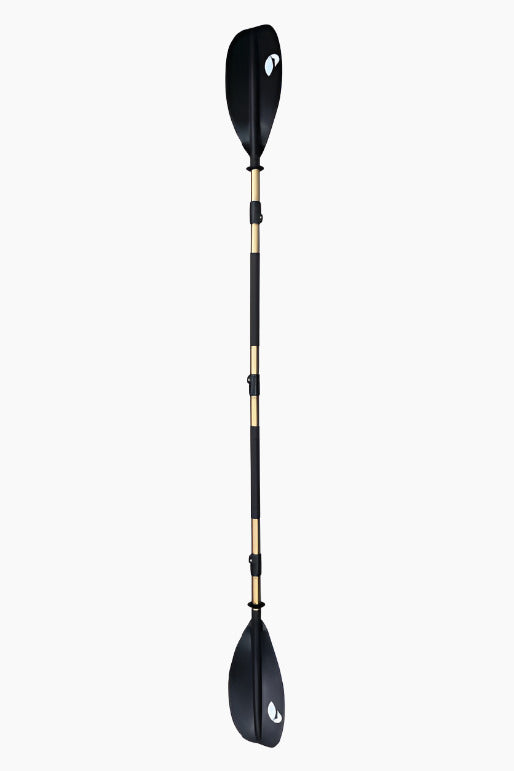
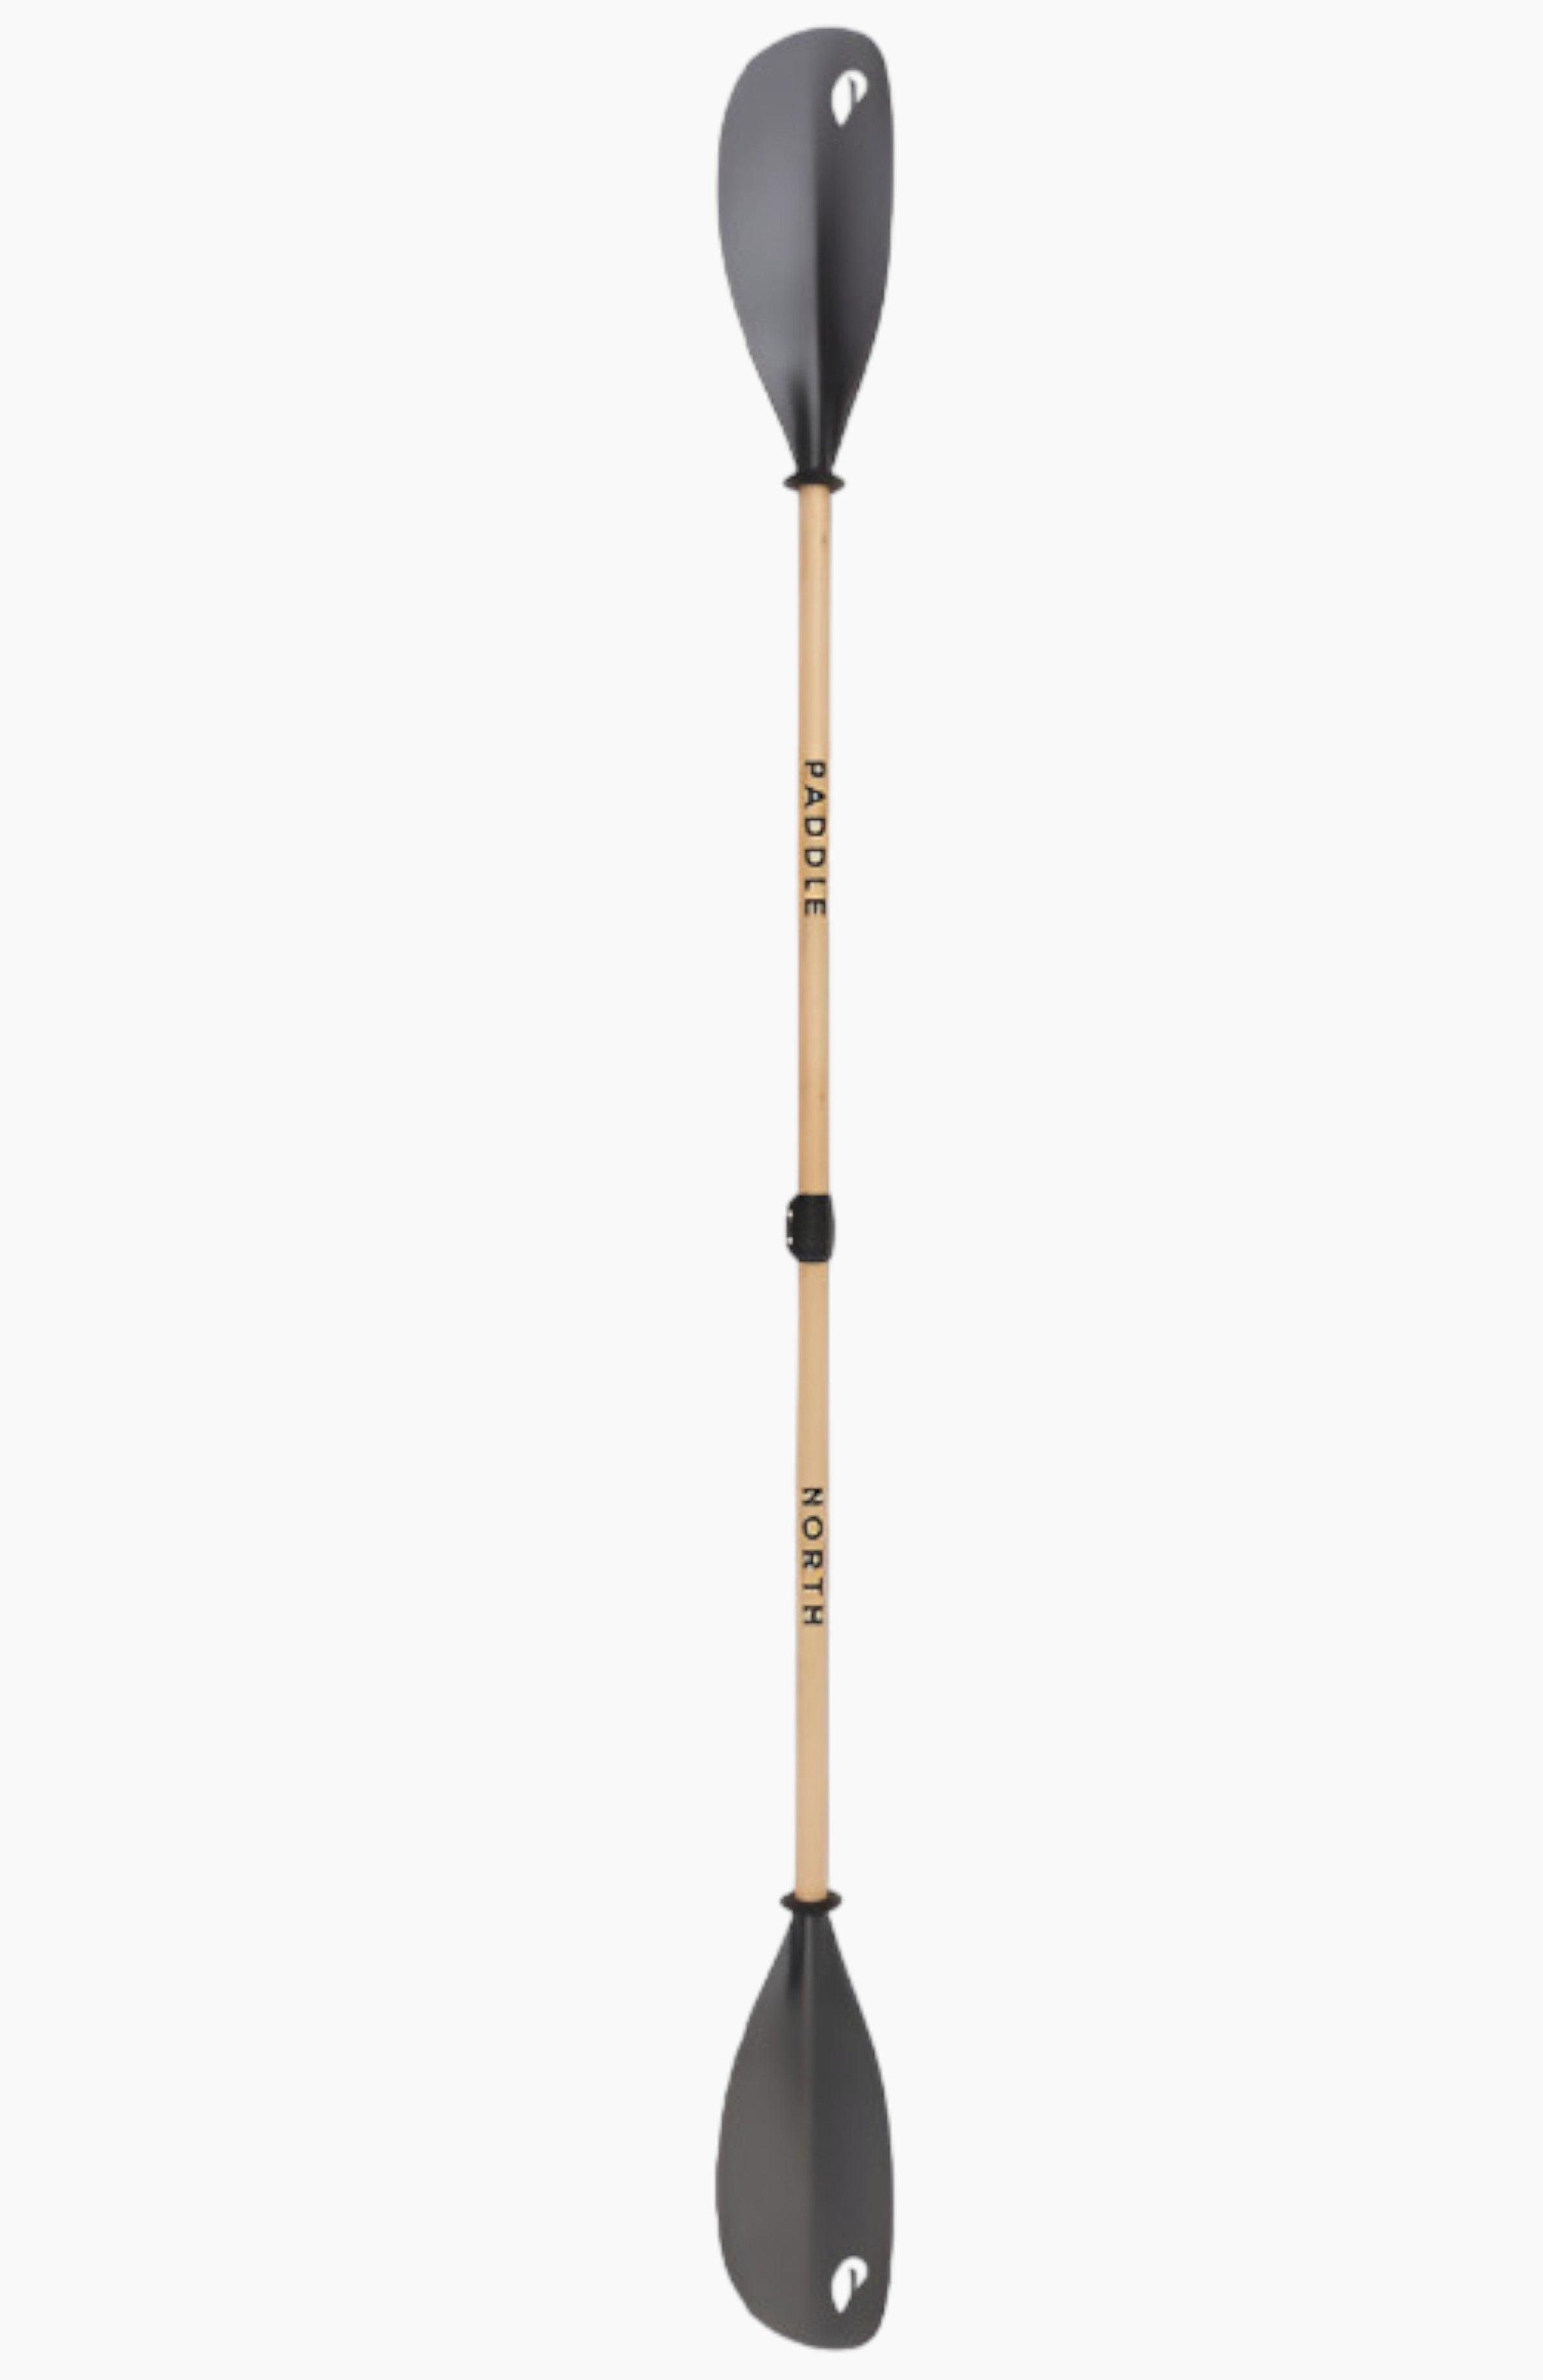
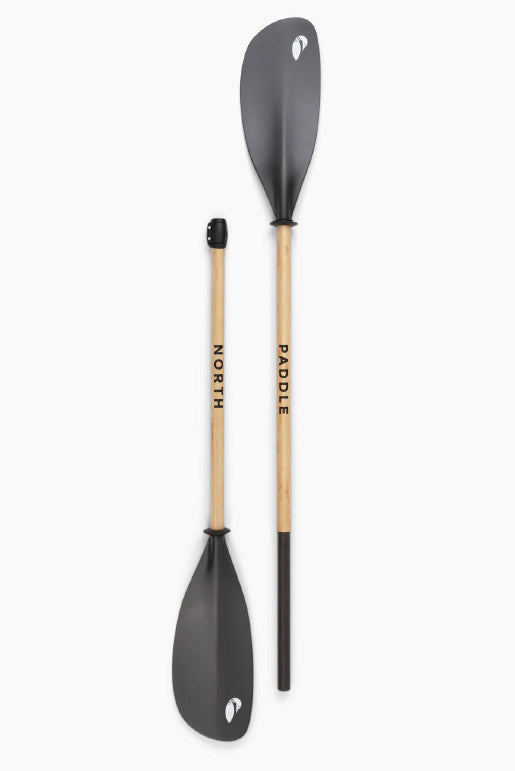
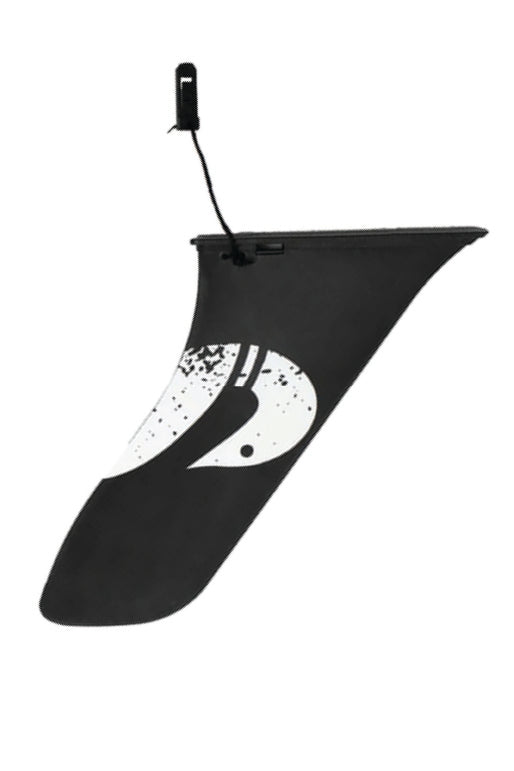
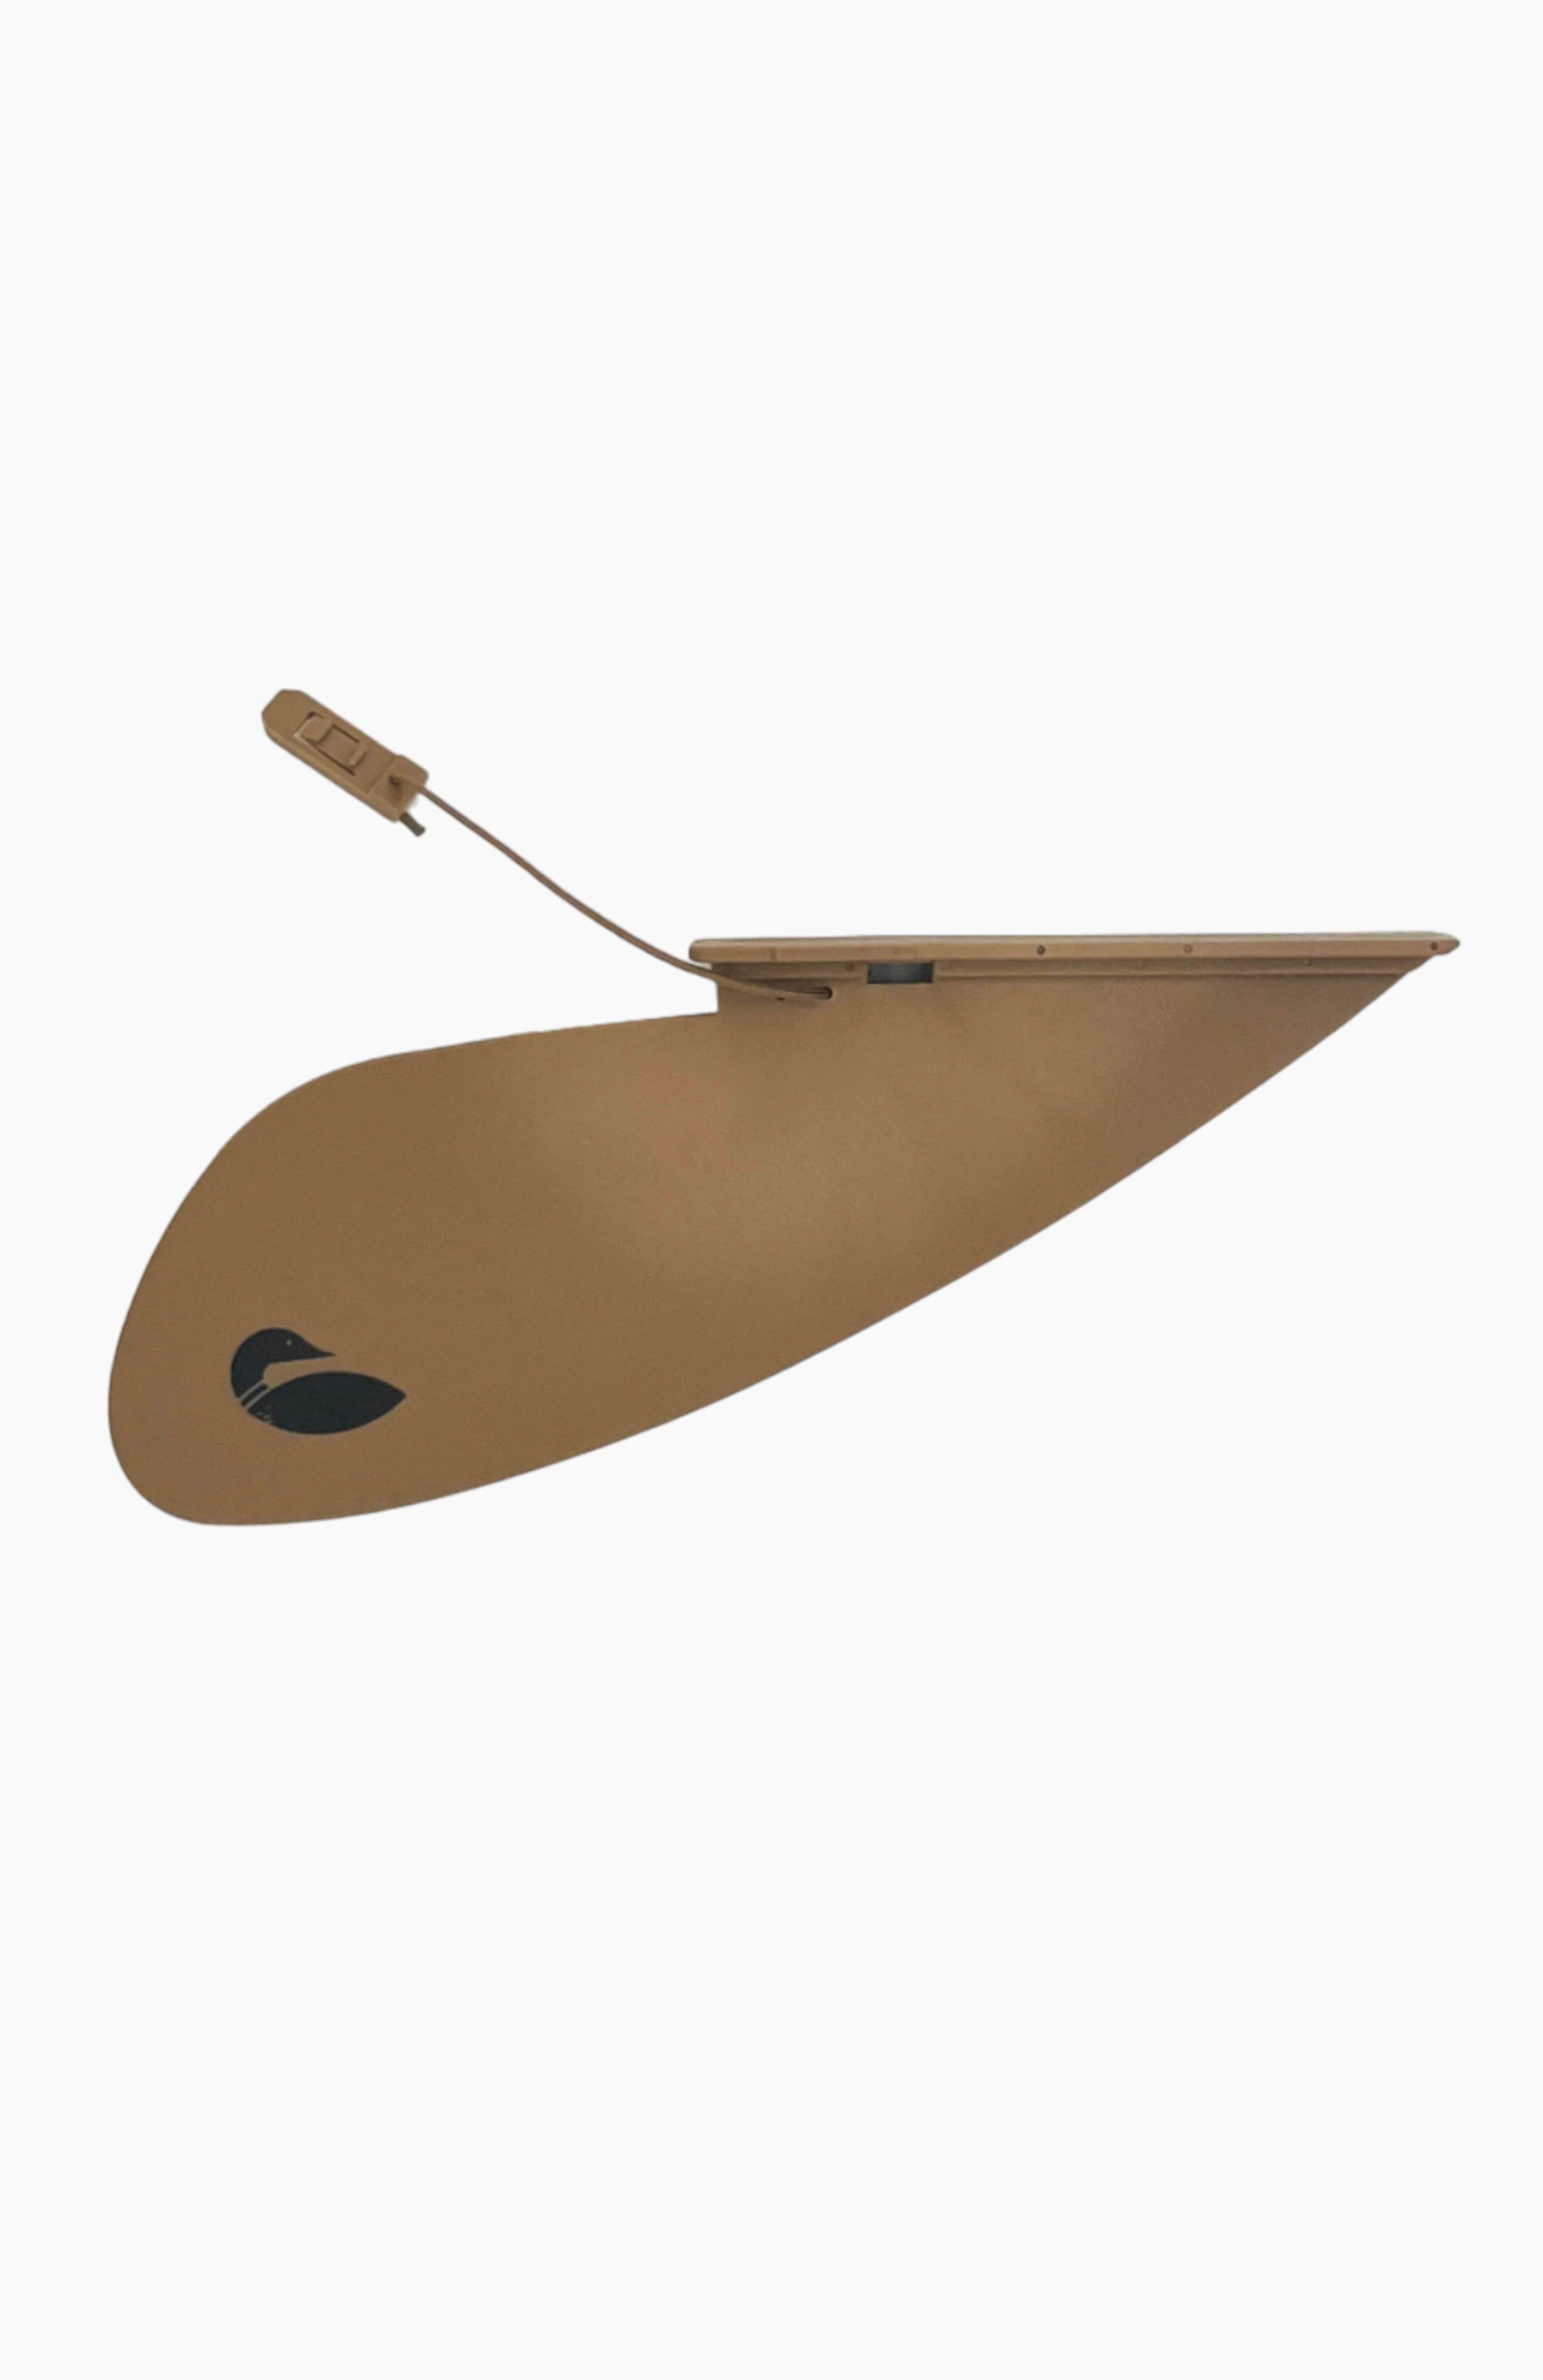
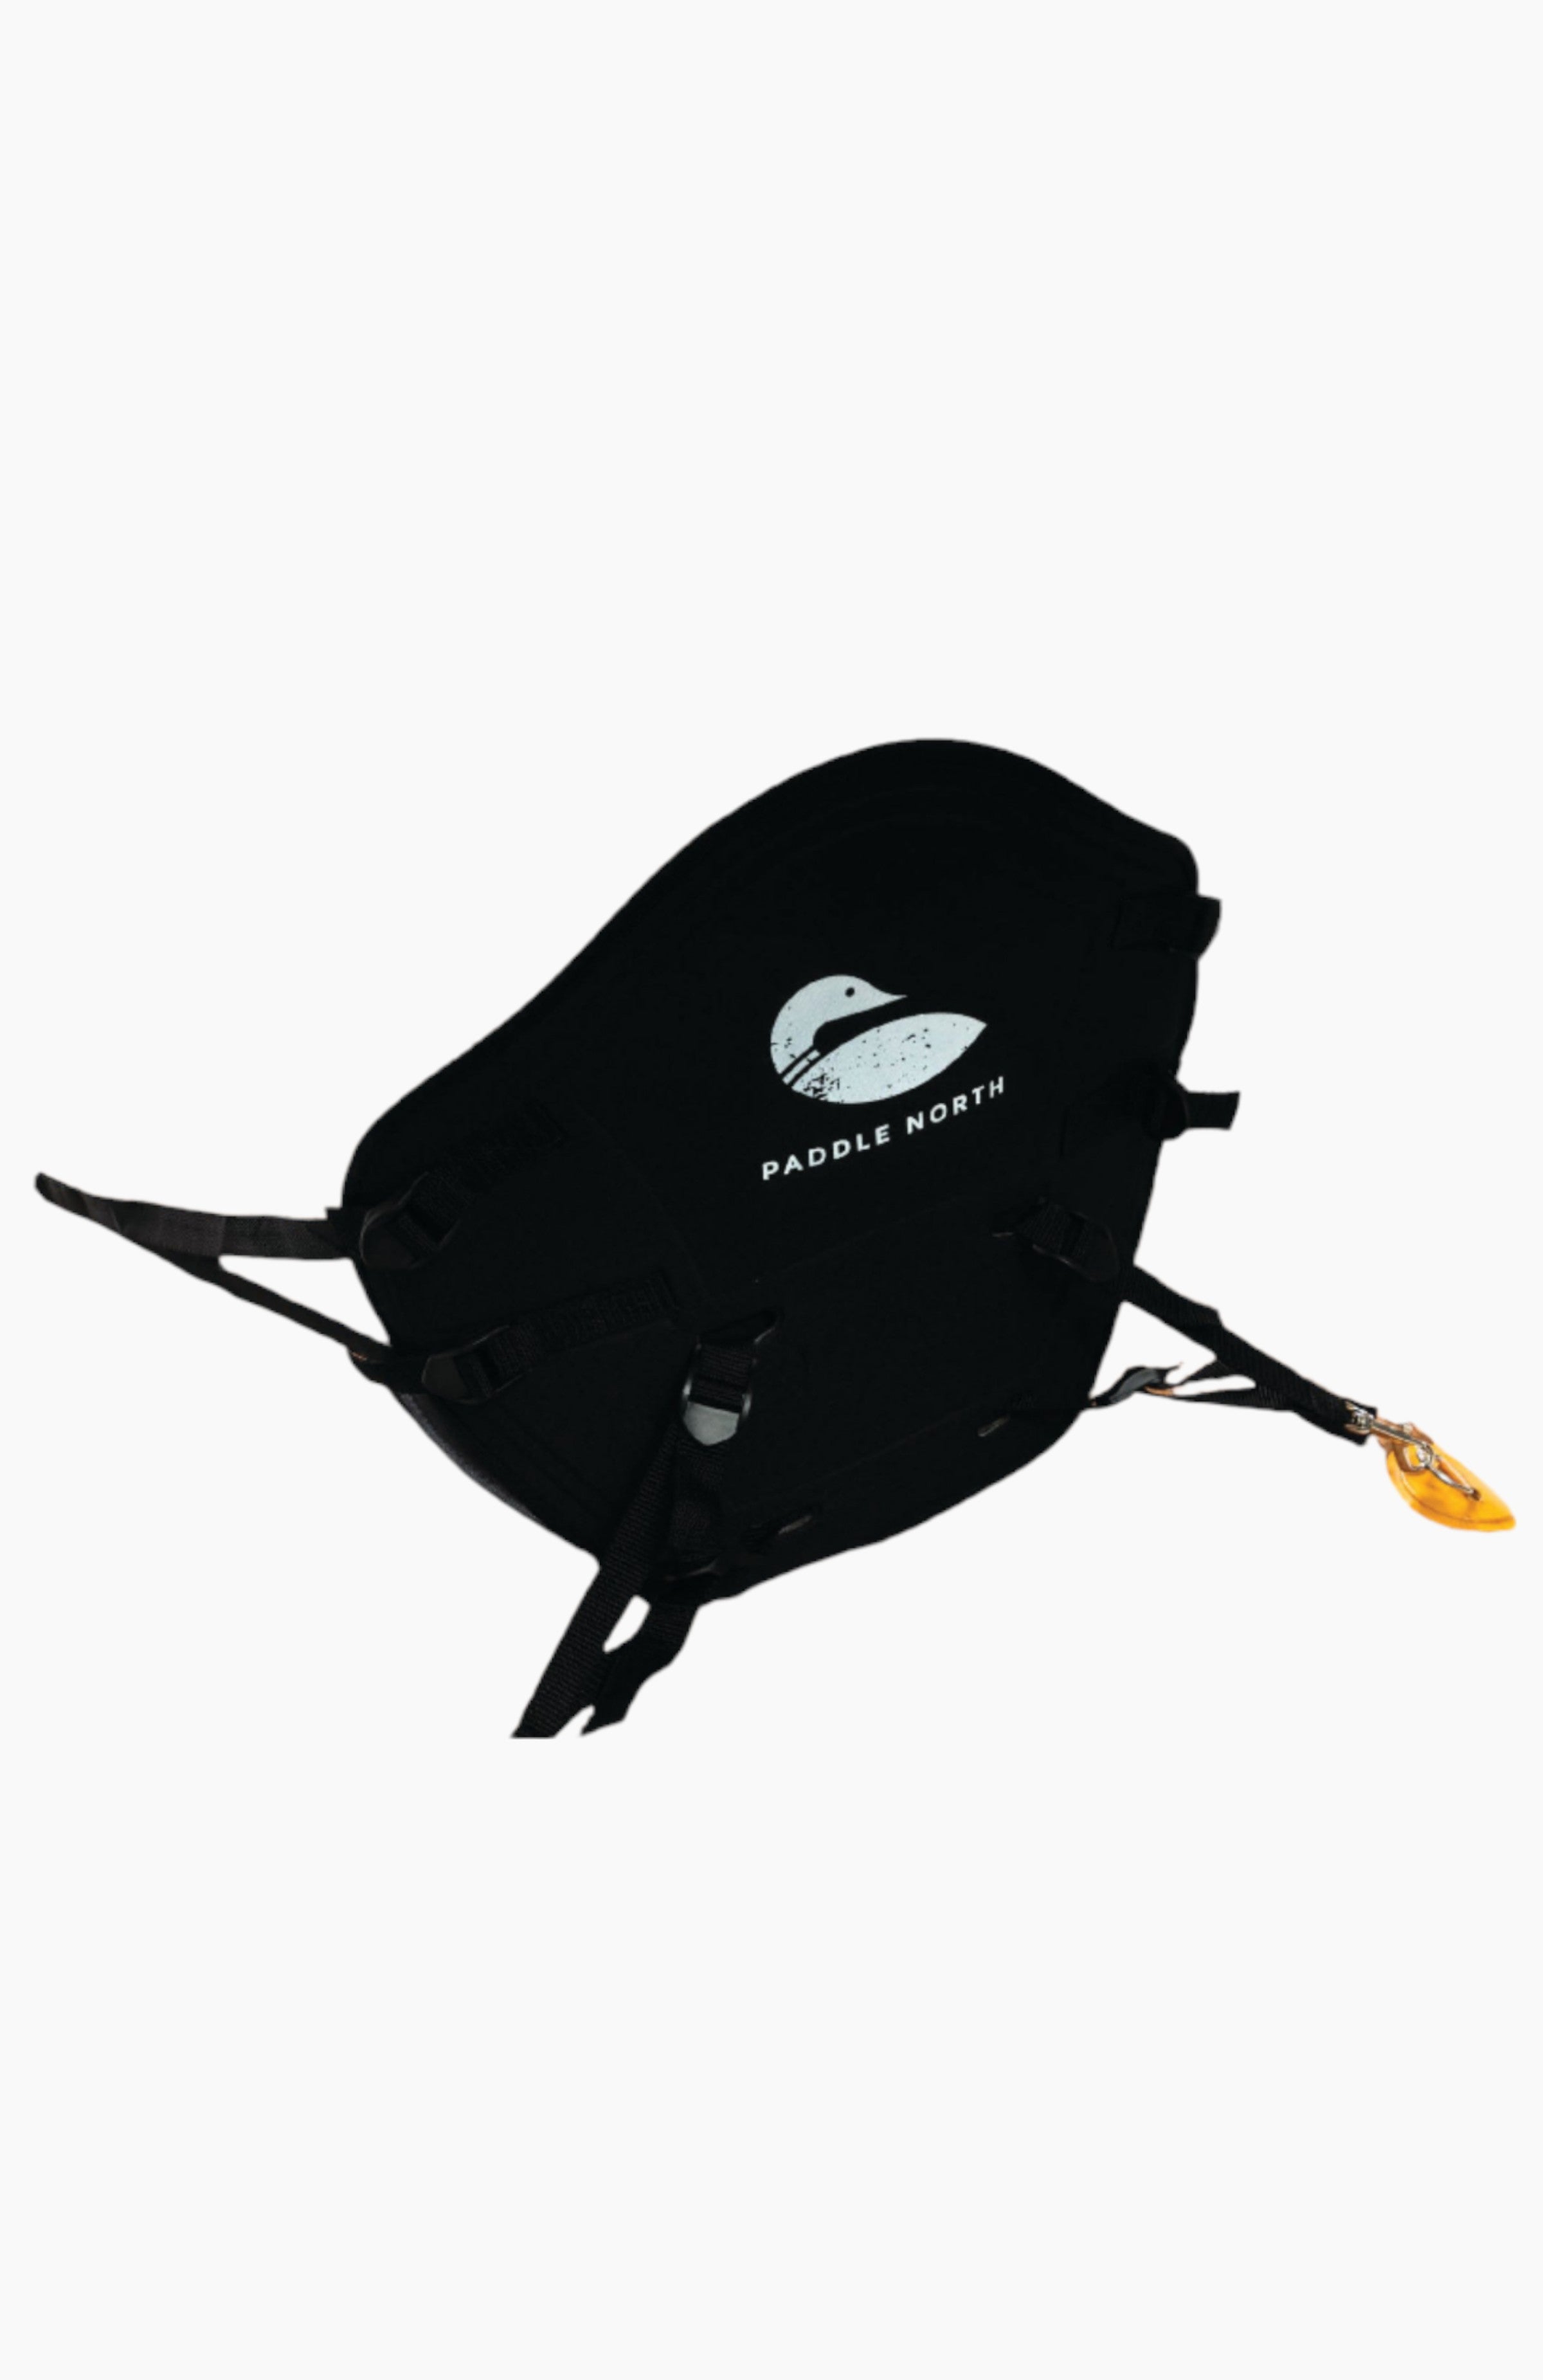
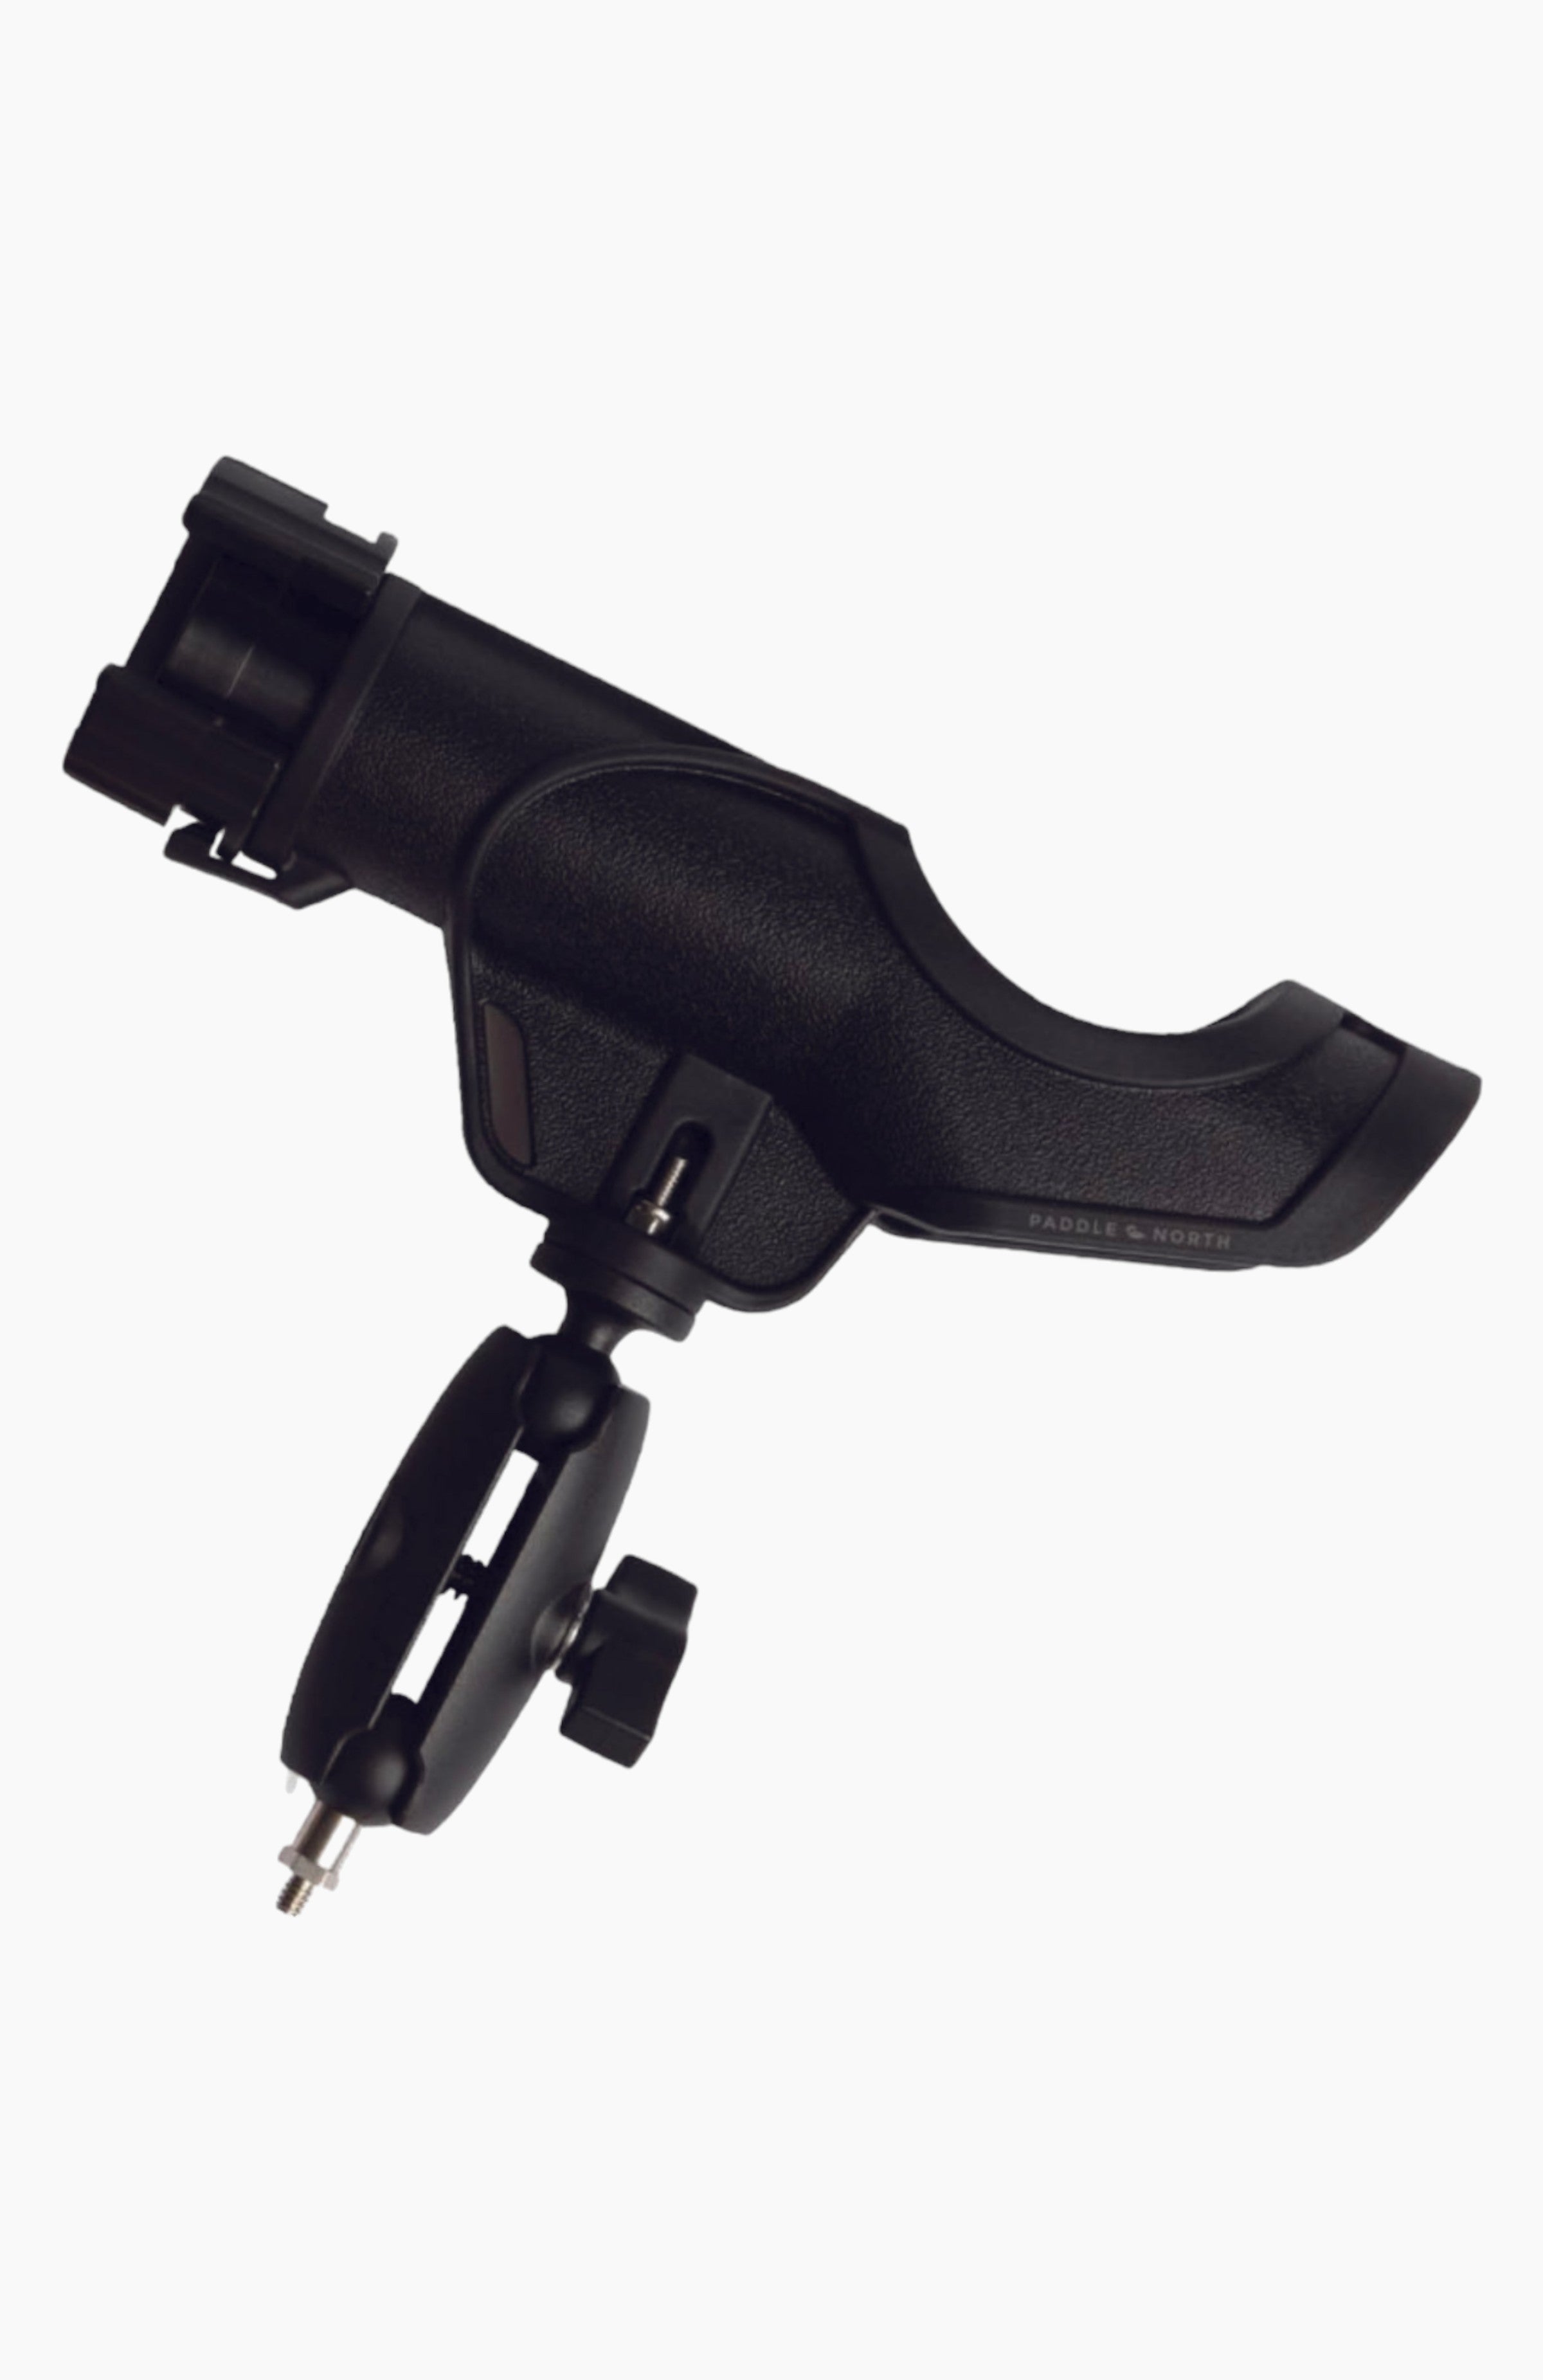
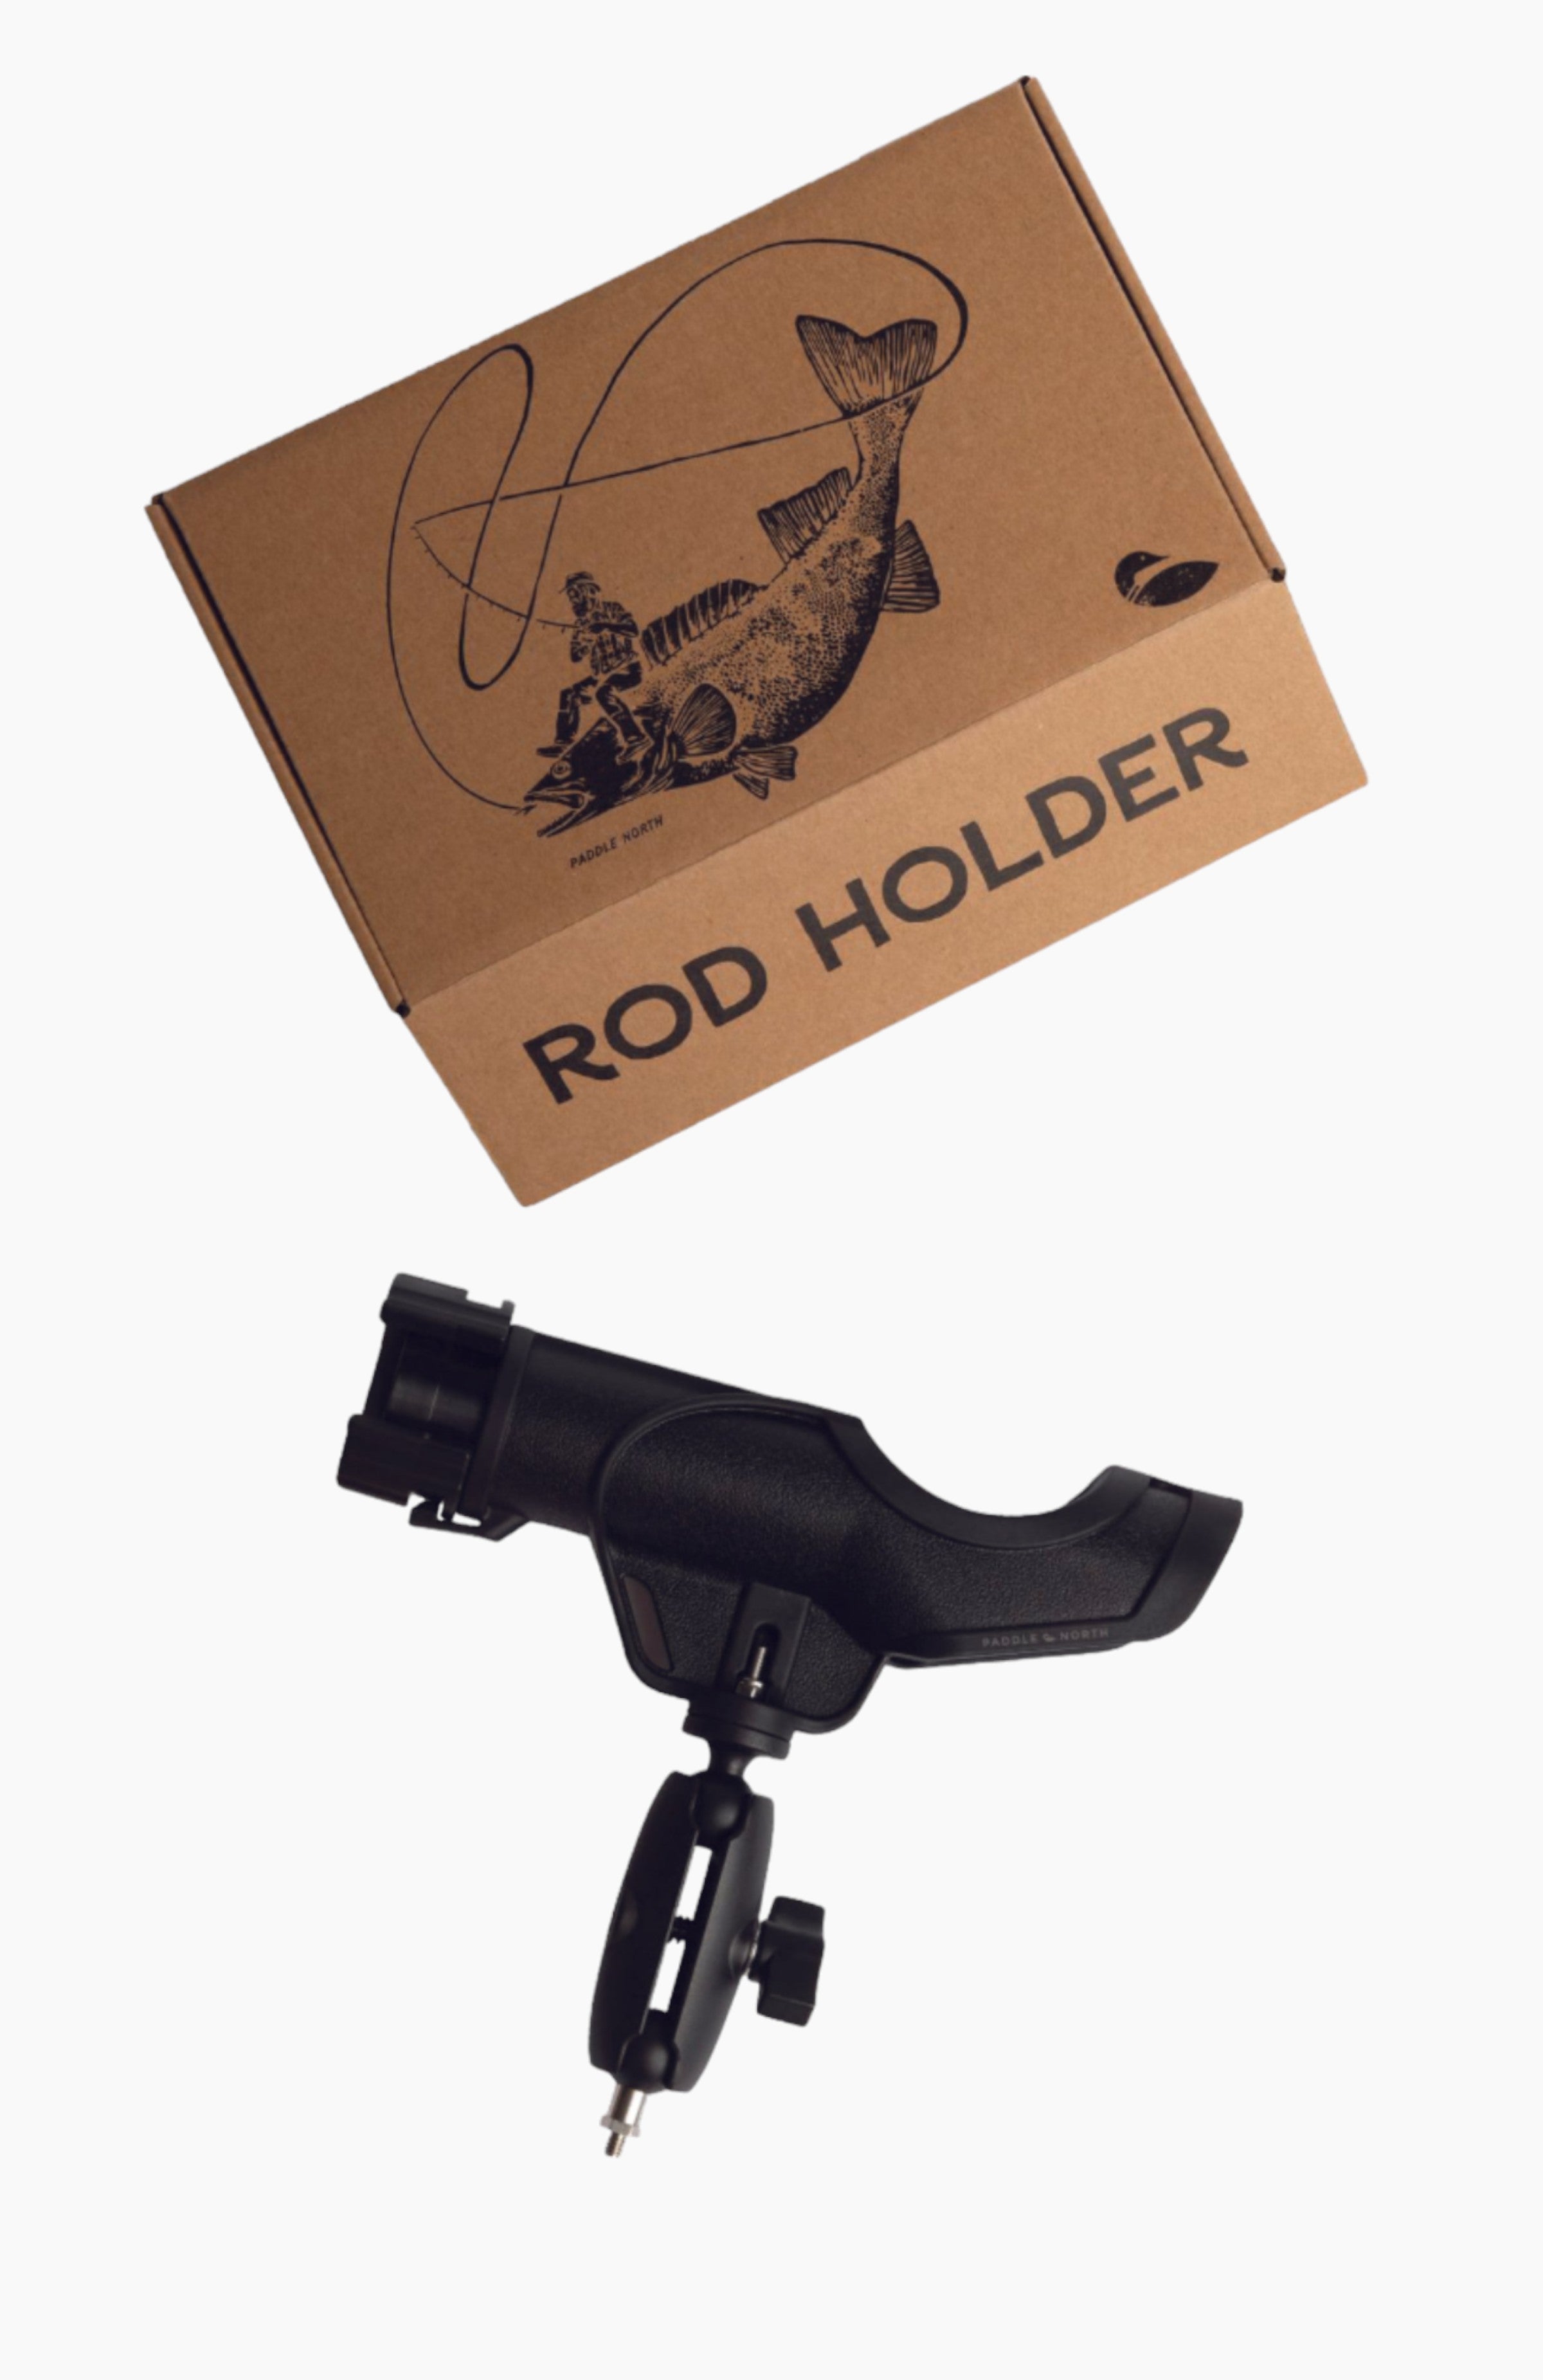
Your kit should include your 9'11" Karve Kayak 3.0, All Terrain Bag, Adjustable Kayak Seat, Triple Action Superior Inflator, Fin, 4-Piece Paddle, and a Repair Kit.

12' Karve Kayak XL
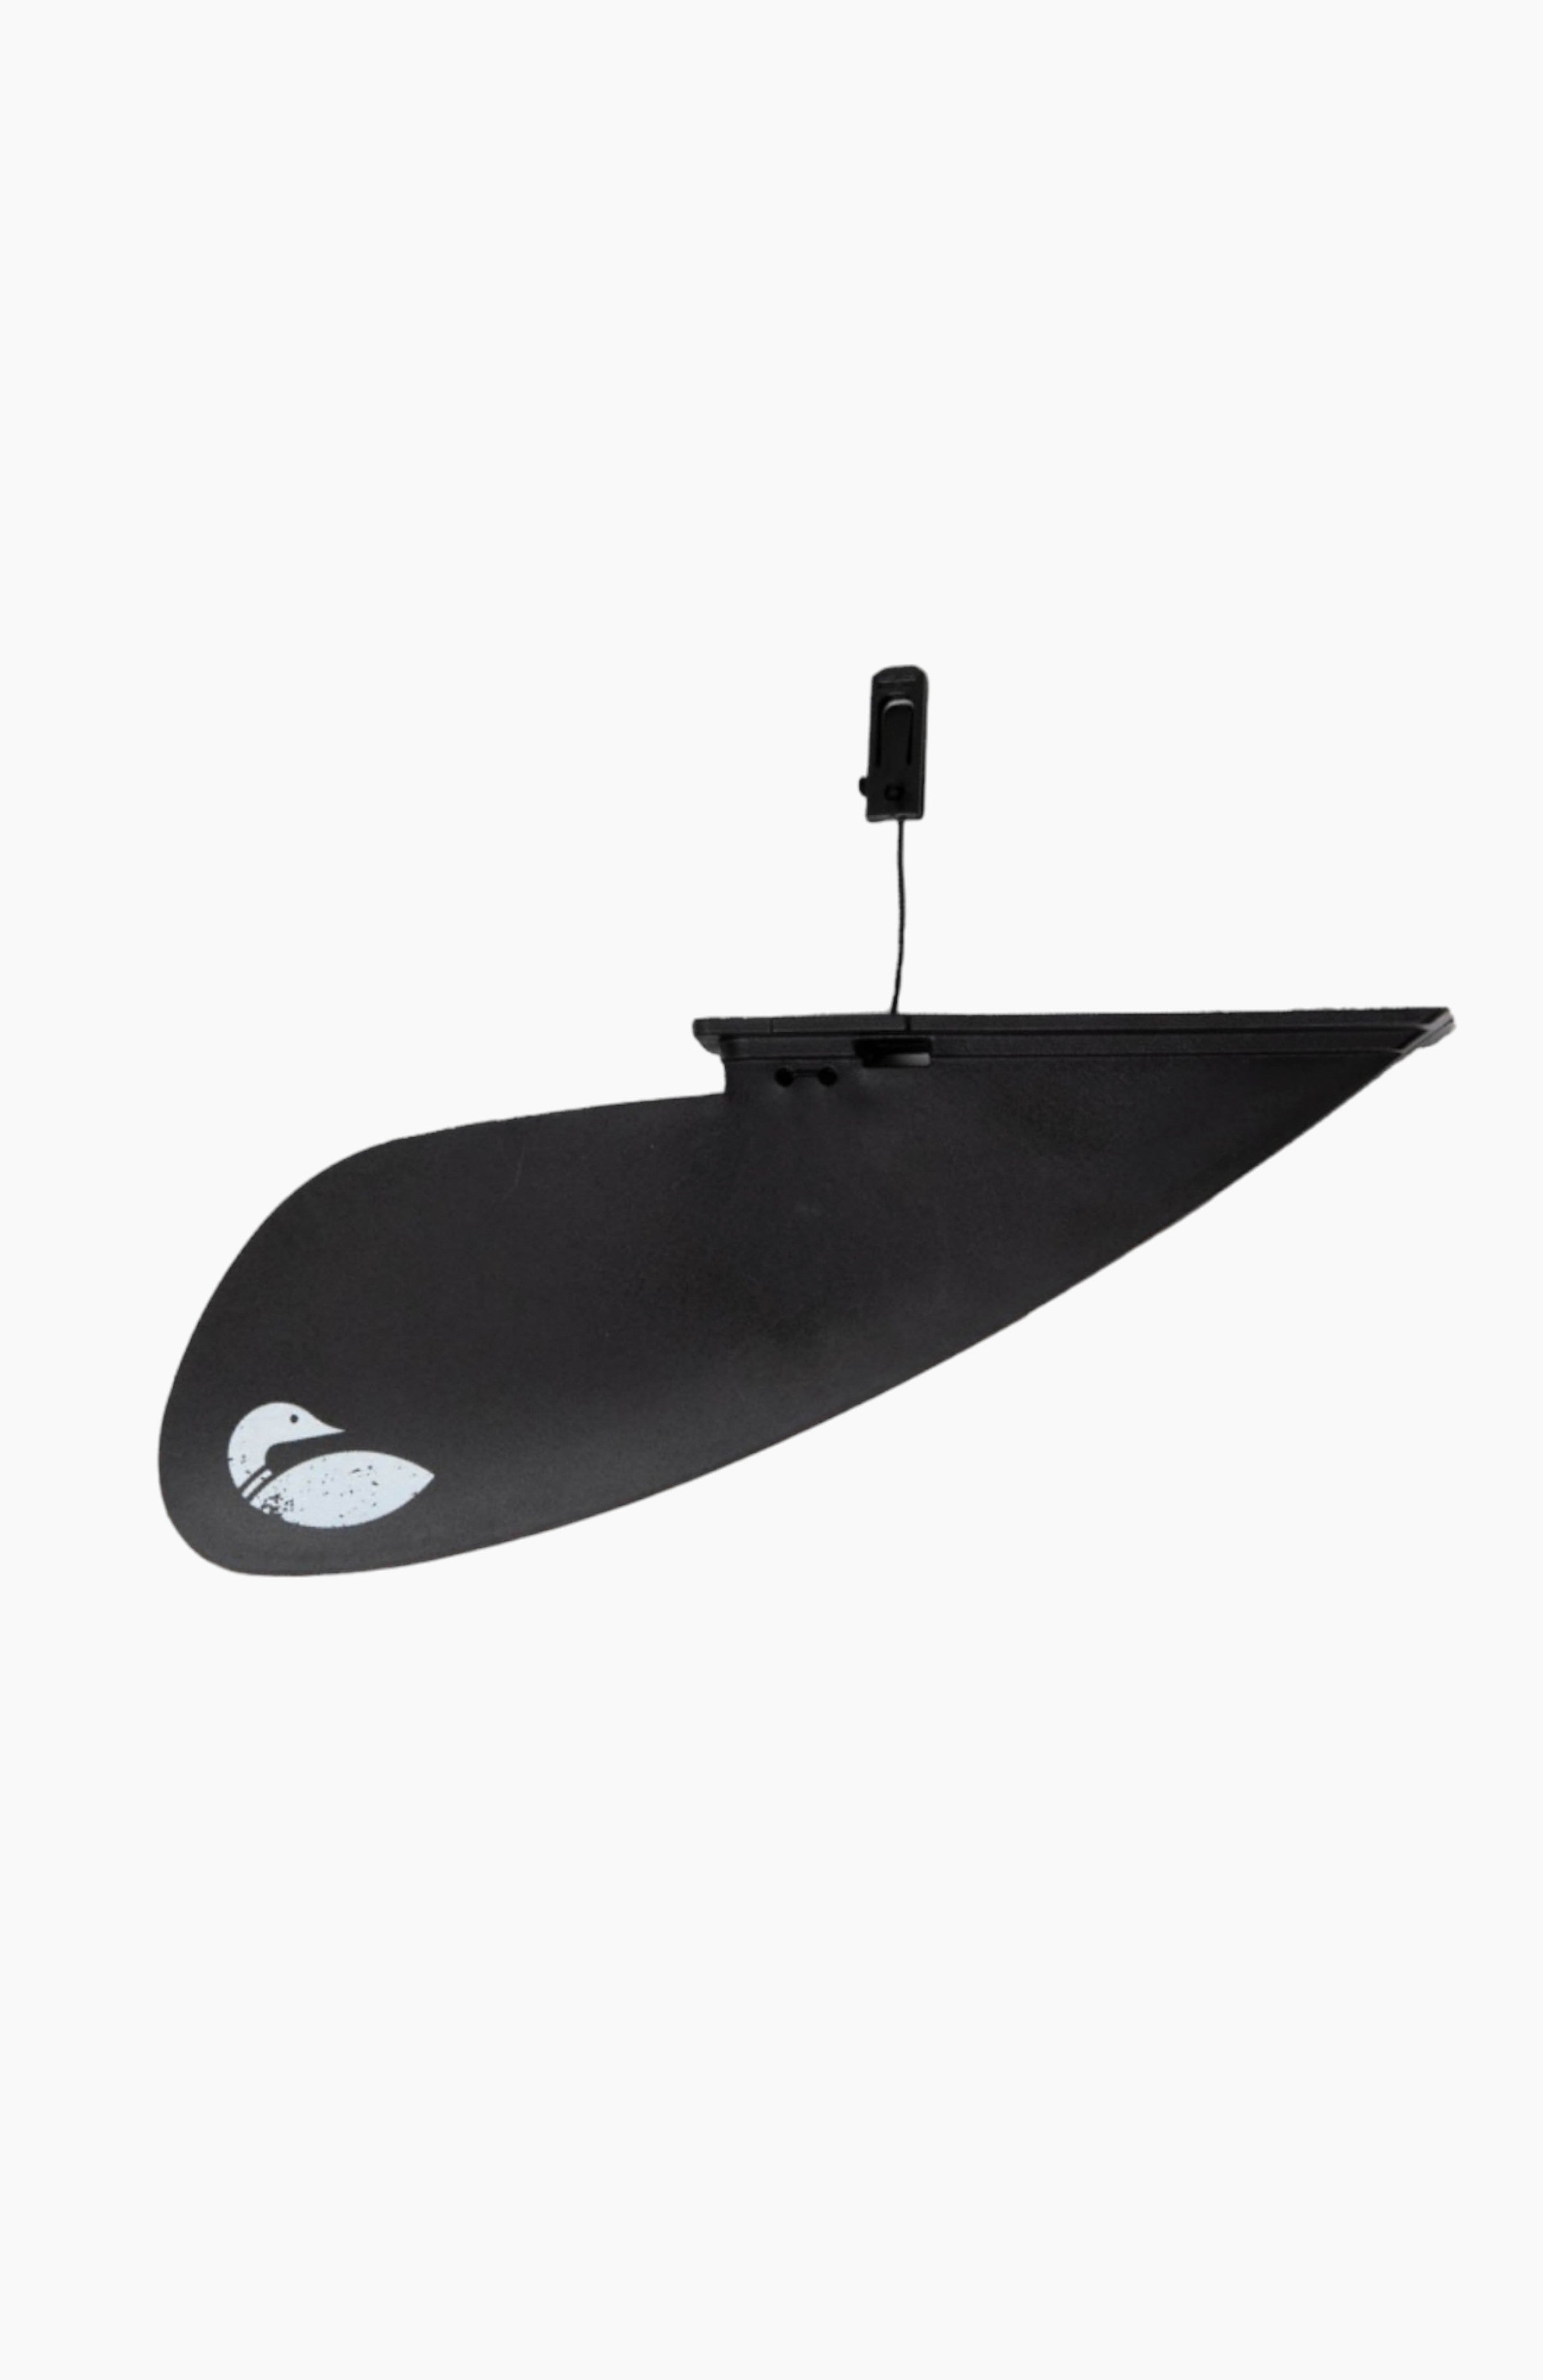
Your kit should include your 12' Karve Kayak 3.0, All Terrain Bag, x2 Adjustable Kayak Seats, Triple Action Superior Inflator, Fin, x2 4-Piece Paddles, and a Repair Kit.
Getting Started
1. Check your local laws to see if kayak registration is required in your region. If you need to register your kayak, follow steps found the "Registering your Kayak" section of Getting Started.
2. Read all safety instructions and guidelines found below. Commit to always wearing a life jacket and make safety a priority on the water.
Please read carefully prior to use.
Failure to follow safety instructions and precautions may result in serious personal injury or death.
The warnings, cautions, and instructions discussed in this manual cannot cover all possible conditions or situations that could occur.
It is up to the operator to use common sense while using this product.
Do not allow persons to operate or assemble this kayak until they have read this manual and have a thorough understanding of how this kayak works.
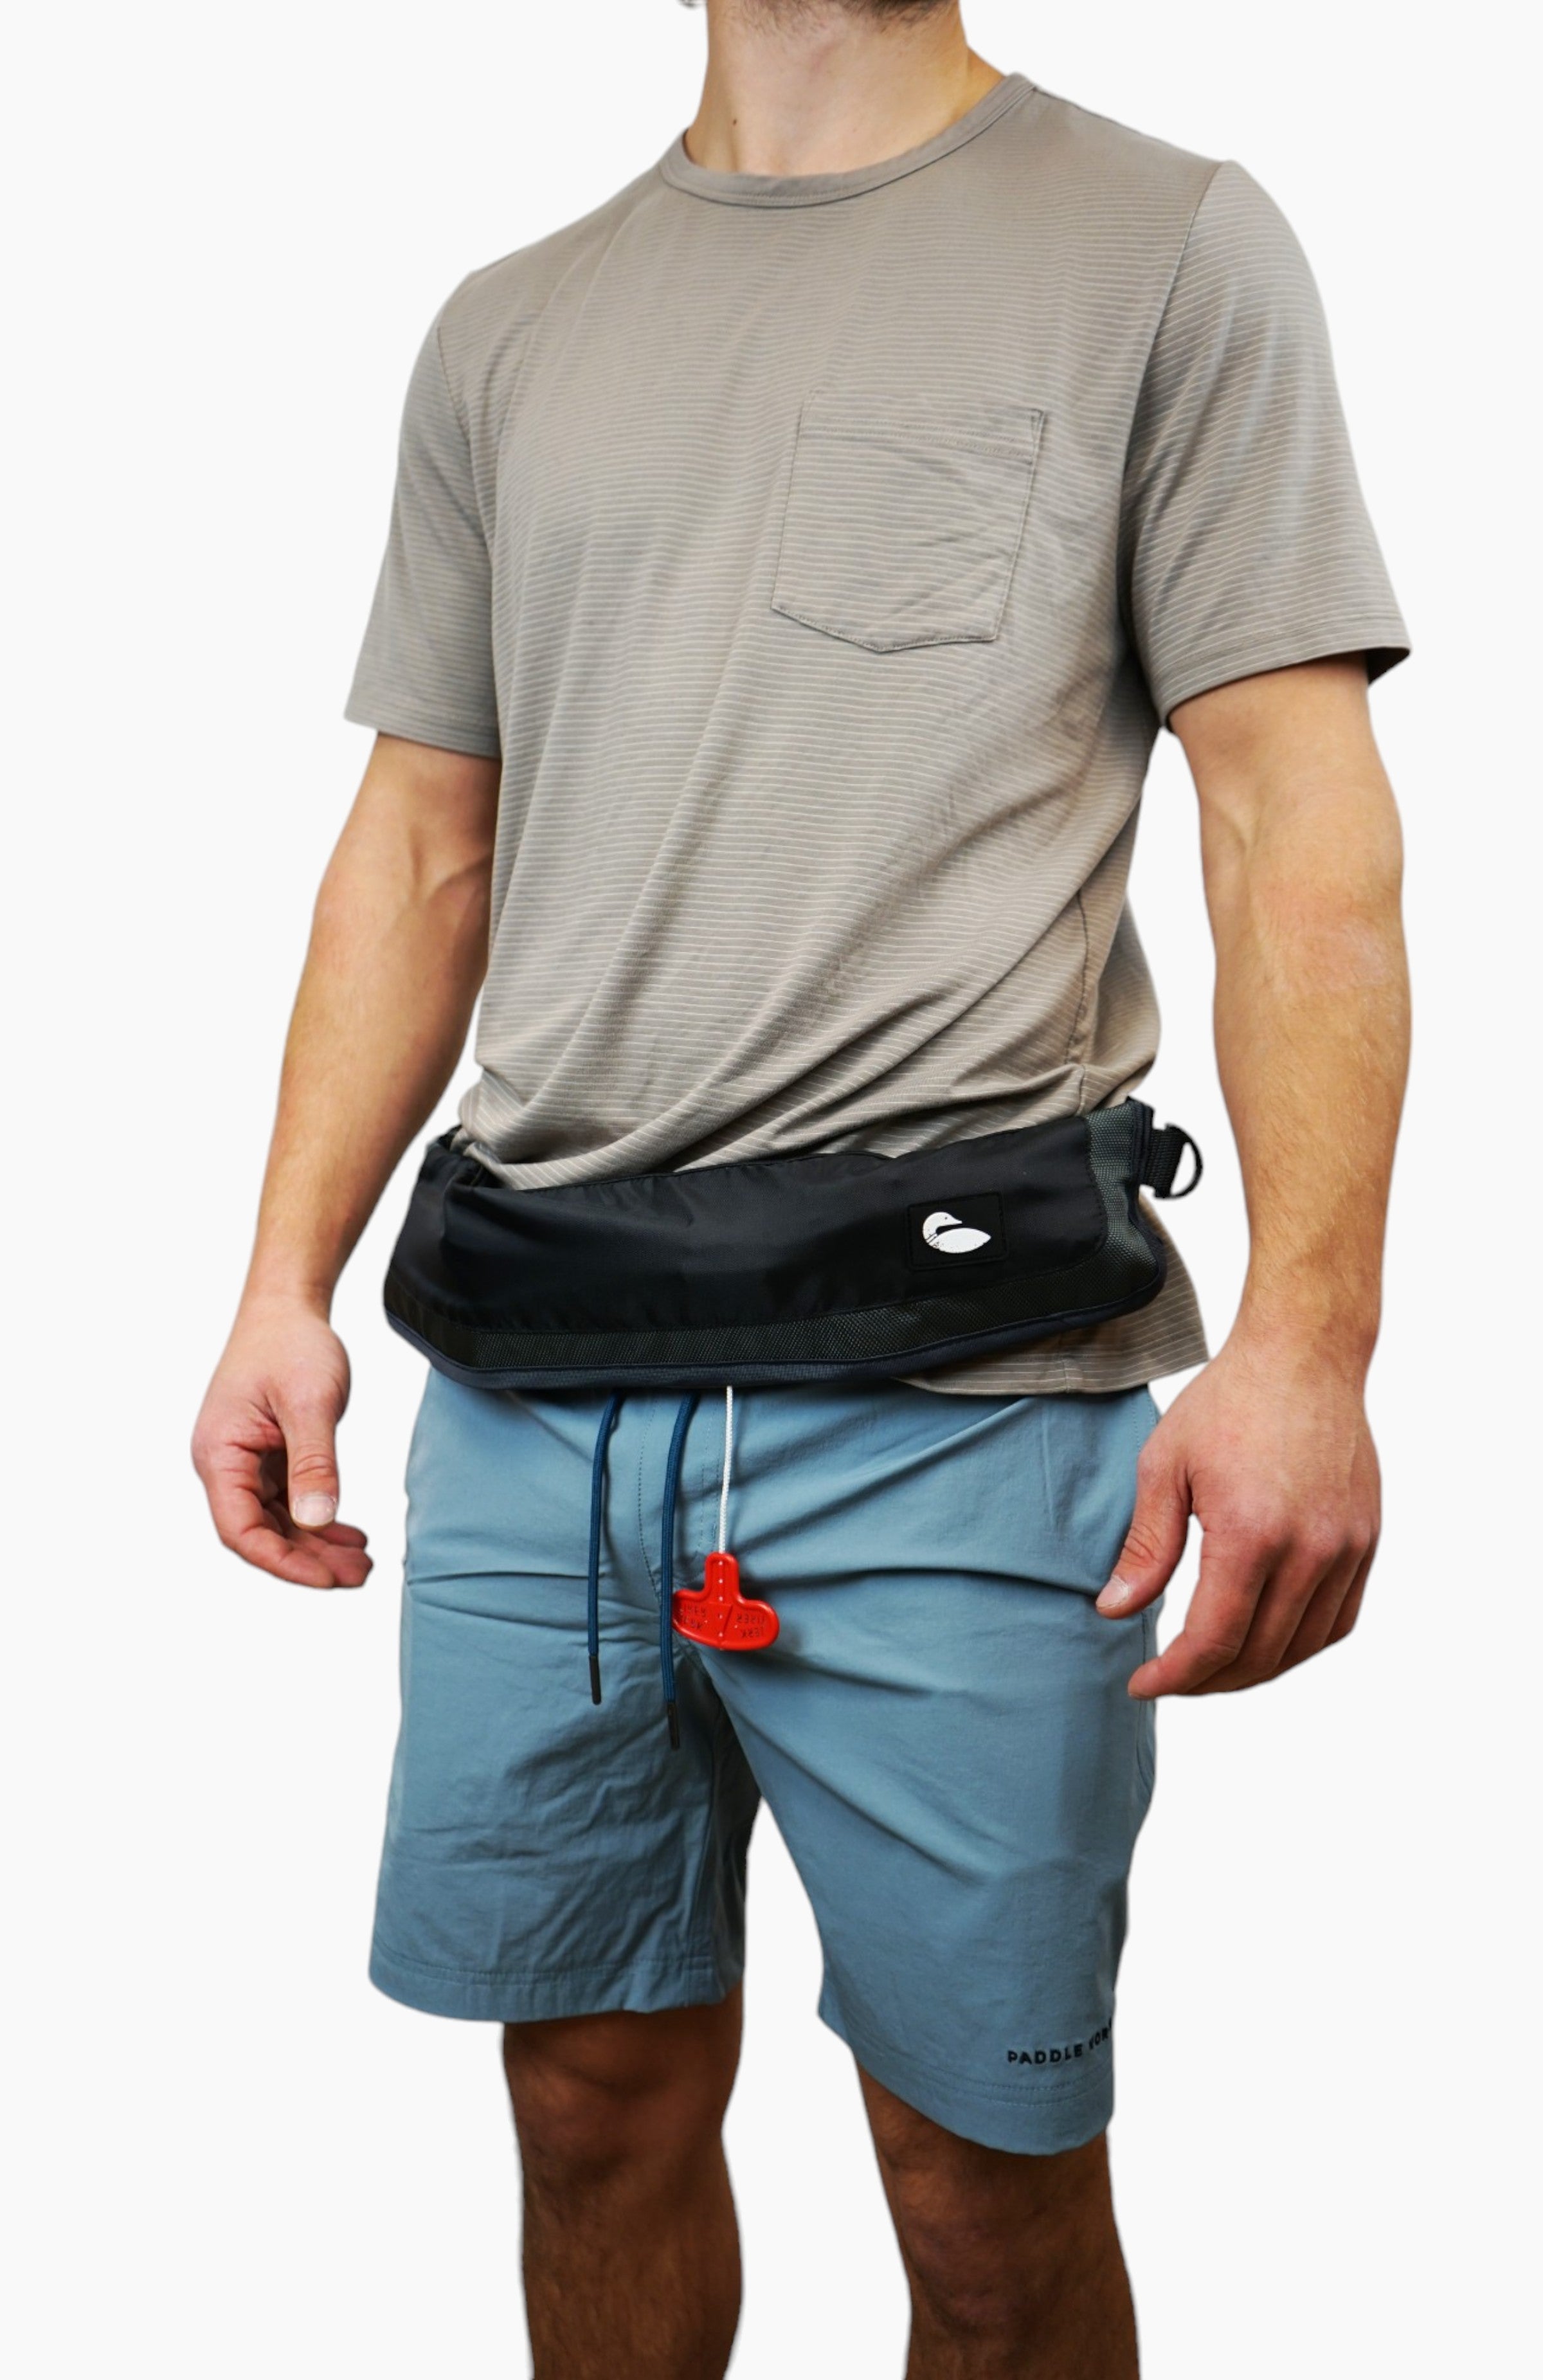
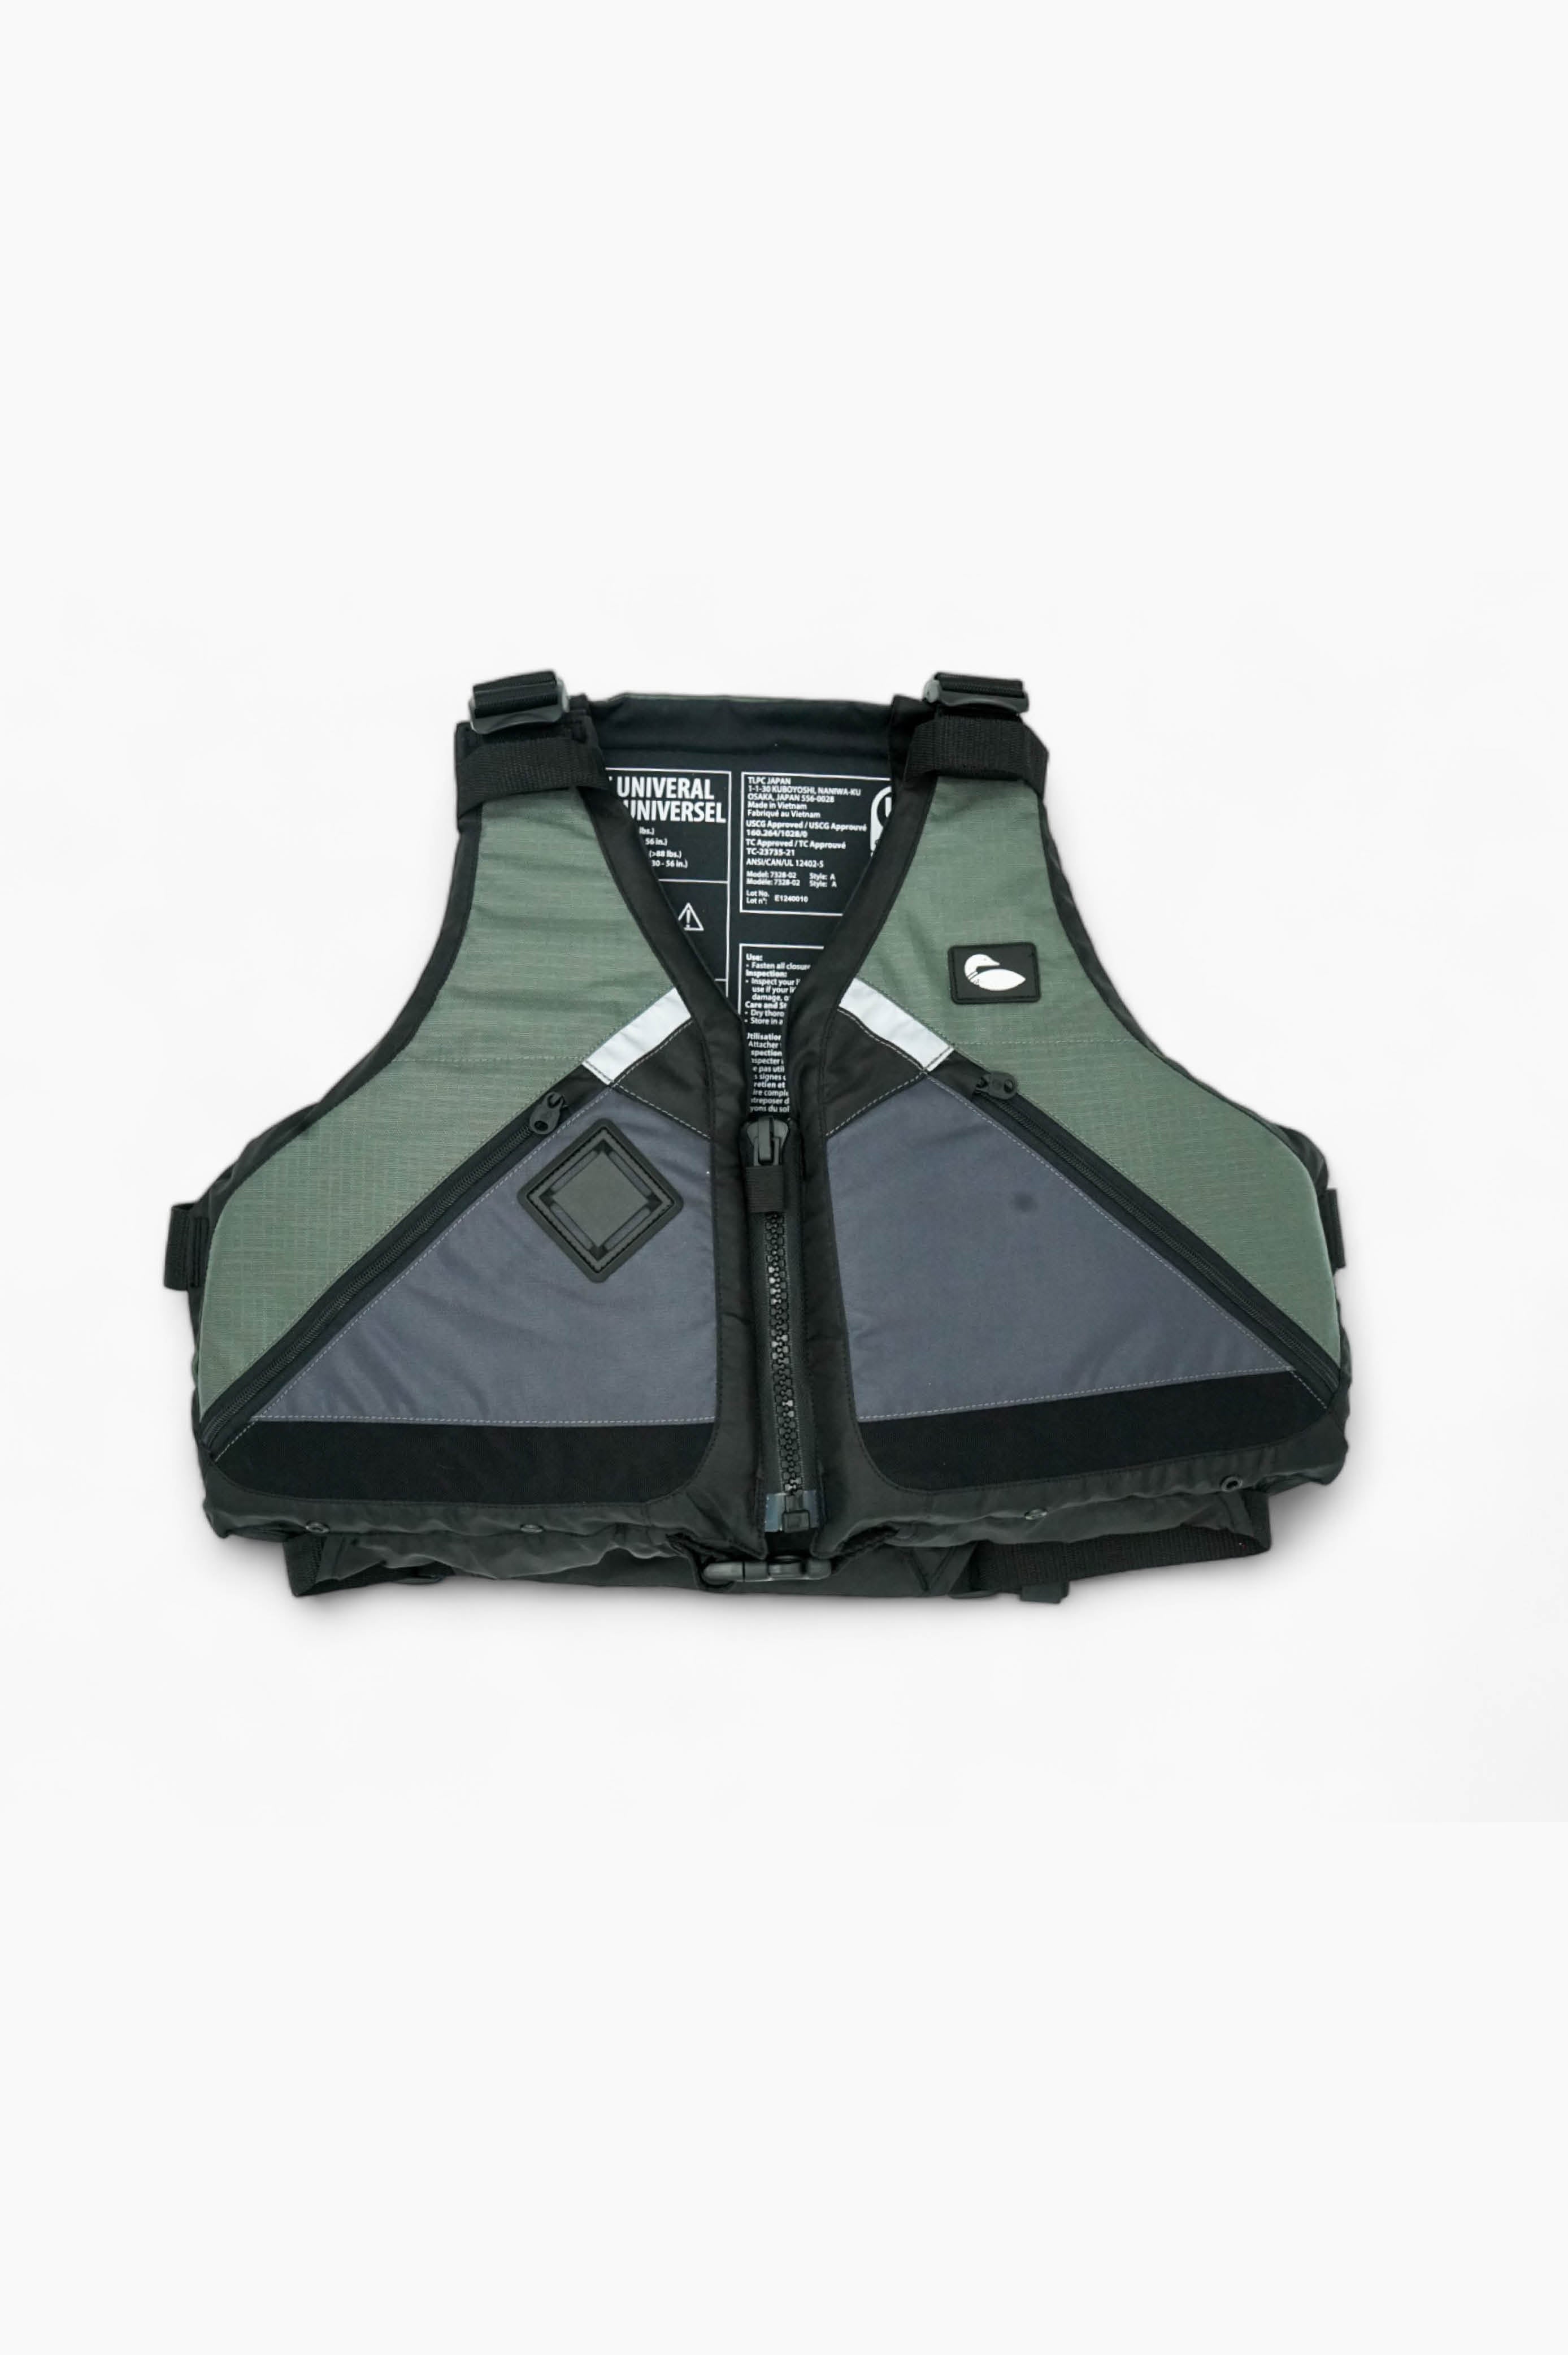
This product is not a life saving device. A Type III personal flotation device (PFD) is required at all times while on board this kayak.
Do not use kayak under the influence of drugs or alcohol.
Do not use this kayak if you cannot swim.
Do not use this kayak in rough waters, in storm-like conditions, or when lightning is present.
Use caution when getting on and off this kayak.
Consult your physician before using a kayak.
Use this product only if you know you are in good physical health.
Users of this product are responsible for their own safety.
Do not over inflate. Only inflate within recommended PSI range.
Inspect kayak for any worn or defective parts prior to use and replace as necessary.
Do not use if product is defective.
Do not use kayak near motorized boats.
While in use, ensure kayak is in deep enough water, free from hazardous materials.
Always carry the kayak to the water, do not haul it across the ground.
If under 18, always use the kayak under adult supervision.
Users of this kayak assume all risk and liability.
1. Take the black valve wrench from the repair kit and ensure the air fill valves (x2) and the pressure relief valves (x2) are tight. Typically, once a year you may need to retighten these valves with the wrench. Warning: Do not ever completely unscrew the valve.
2. Inflating the Kayak: Inflating the 9’11" Kayak takes under 8 minutes. The 12’ will be under 10 minutes. Both Kayaks have two air chambers, you will need to fill both chambers from two separate valves.
3.1 Ensure the valve pin is in the up position. When the valve pin is up, you can still pump air into the Kayak, but it won’t lose any pressure when the pump hose is disconnected.
3.2 Connect the pump hose and inflate the kayak to 10 PSI. The pump has a PSI gauge, it won’t start reading a pressure until the Kayak reaches at least ~3-5 PSI. The Kayak has a max air capacity of 12 PSI. The pressure regulator will activate and slowly let air out if max capacity is ever reached.
3.3. Electric pumps and air compressors can be used. We have adapters and e-pumps if inflating manually is an obstacle. If you have an existing e-pump, feel free to use it. You won’t void any warranty or do any damage to the Kayak by using an off-brand pump.
There are no tools required. The fin slides the into the fin box and locks in place with the locking pin. The seat installs by connecting the straps to the D-rings. Take the two top longer straps and attach them to the front D-rings on the floor. The two shorter straps attach to the back D-rings. Adjust as needed. Lastly, connect the d-ring in the center of the seat to the d-ring on the underside of top chamber. This will ensure the seat does not slide while paddling.
1 Deflating the kayak takes just a few minutes. Dry off the Kayak before deflating.
1.2 Open the valve cap and press down on the center pin for both air valves. The pin will lock in the down position and let all of the air out. Let it sit for about 60 seconds while air flows out of the Kayak. Then you can start rolling the Kayak in increments. Optional: The manual pump does vacuum the air out by switching the hose connector to deflate on pump.
Storing the kayak inflated or deflated is acceptable. If storing deflated, ensure that the Kayak is completley dry. If storing in a below freezing temperature, it is better to have the Kayak unrolled where the seams won’t be stressed.
Please check local laws and regulations for licensing and registering your paddle craft.
In most states, you are required to register your kayak.
Steps:
1. Go to your local DMV.
2. Show your sales receipt.
3. Present your kayak's 12 character serial number beginning with PDN (example: PDN 12345 A1 20).
4. Pay the fee (usually $10-$30) and get a sticker that is good for (typically) a few years.
The 9'11' Karve Kayak can comfortable support up to 300 lbs. The 12' Karve Kayak XL can support up to 650 lbs.