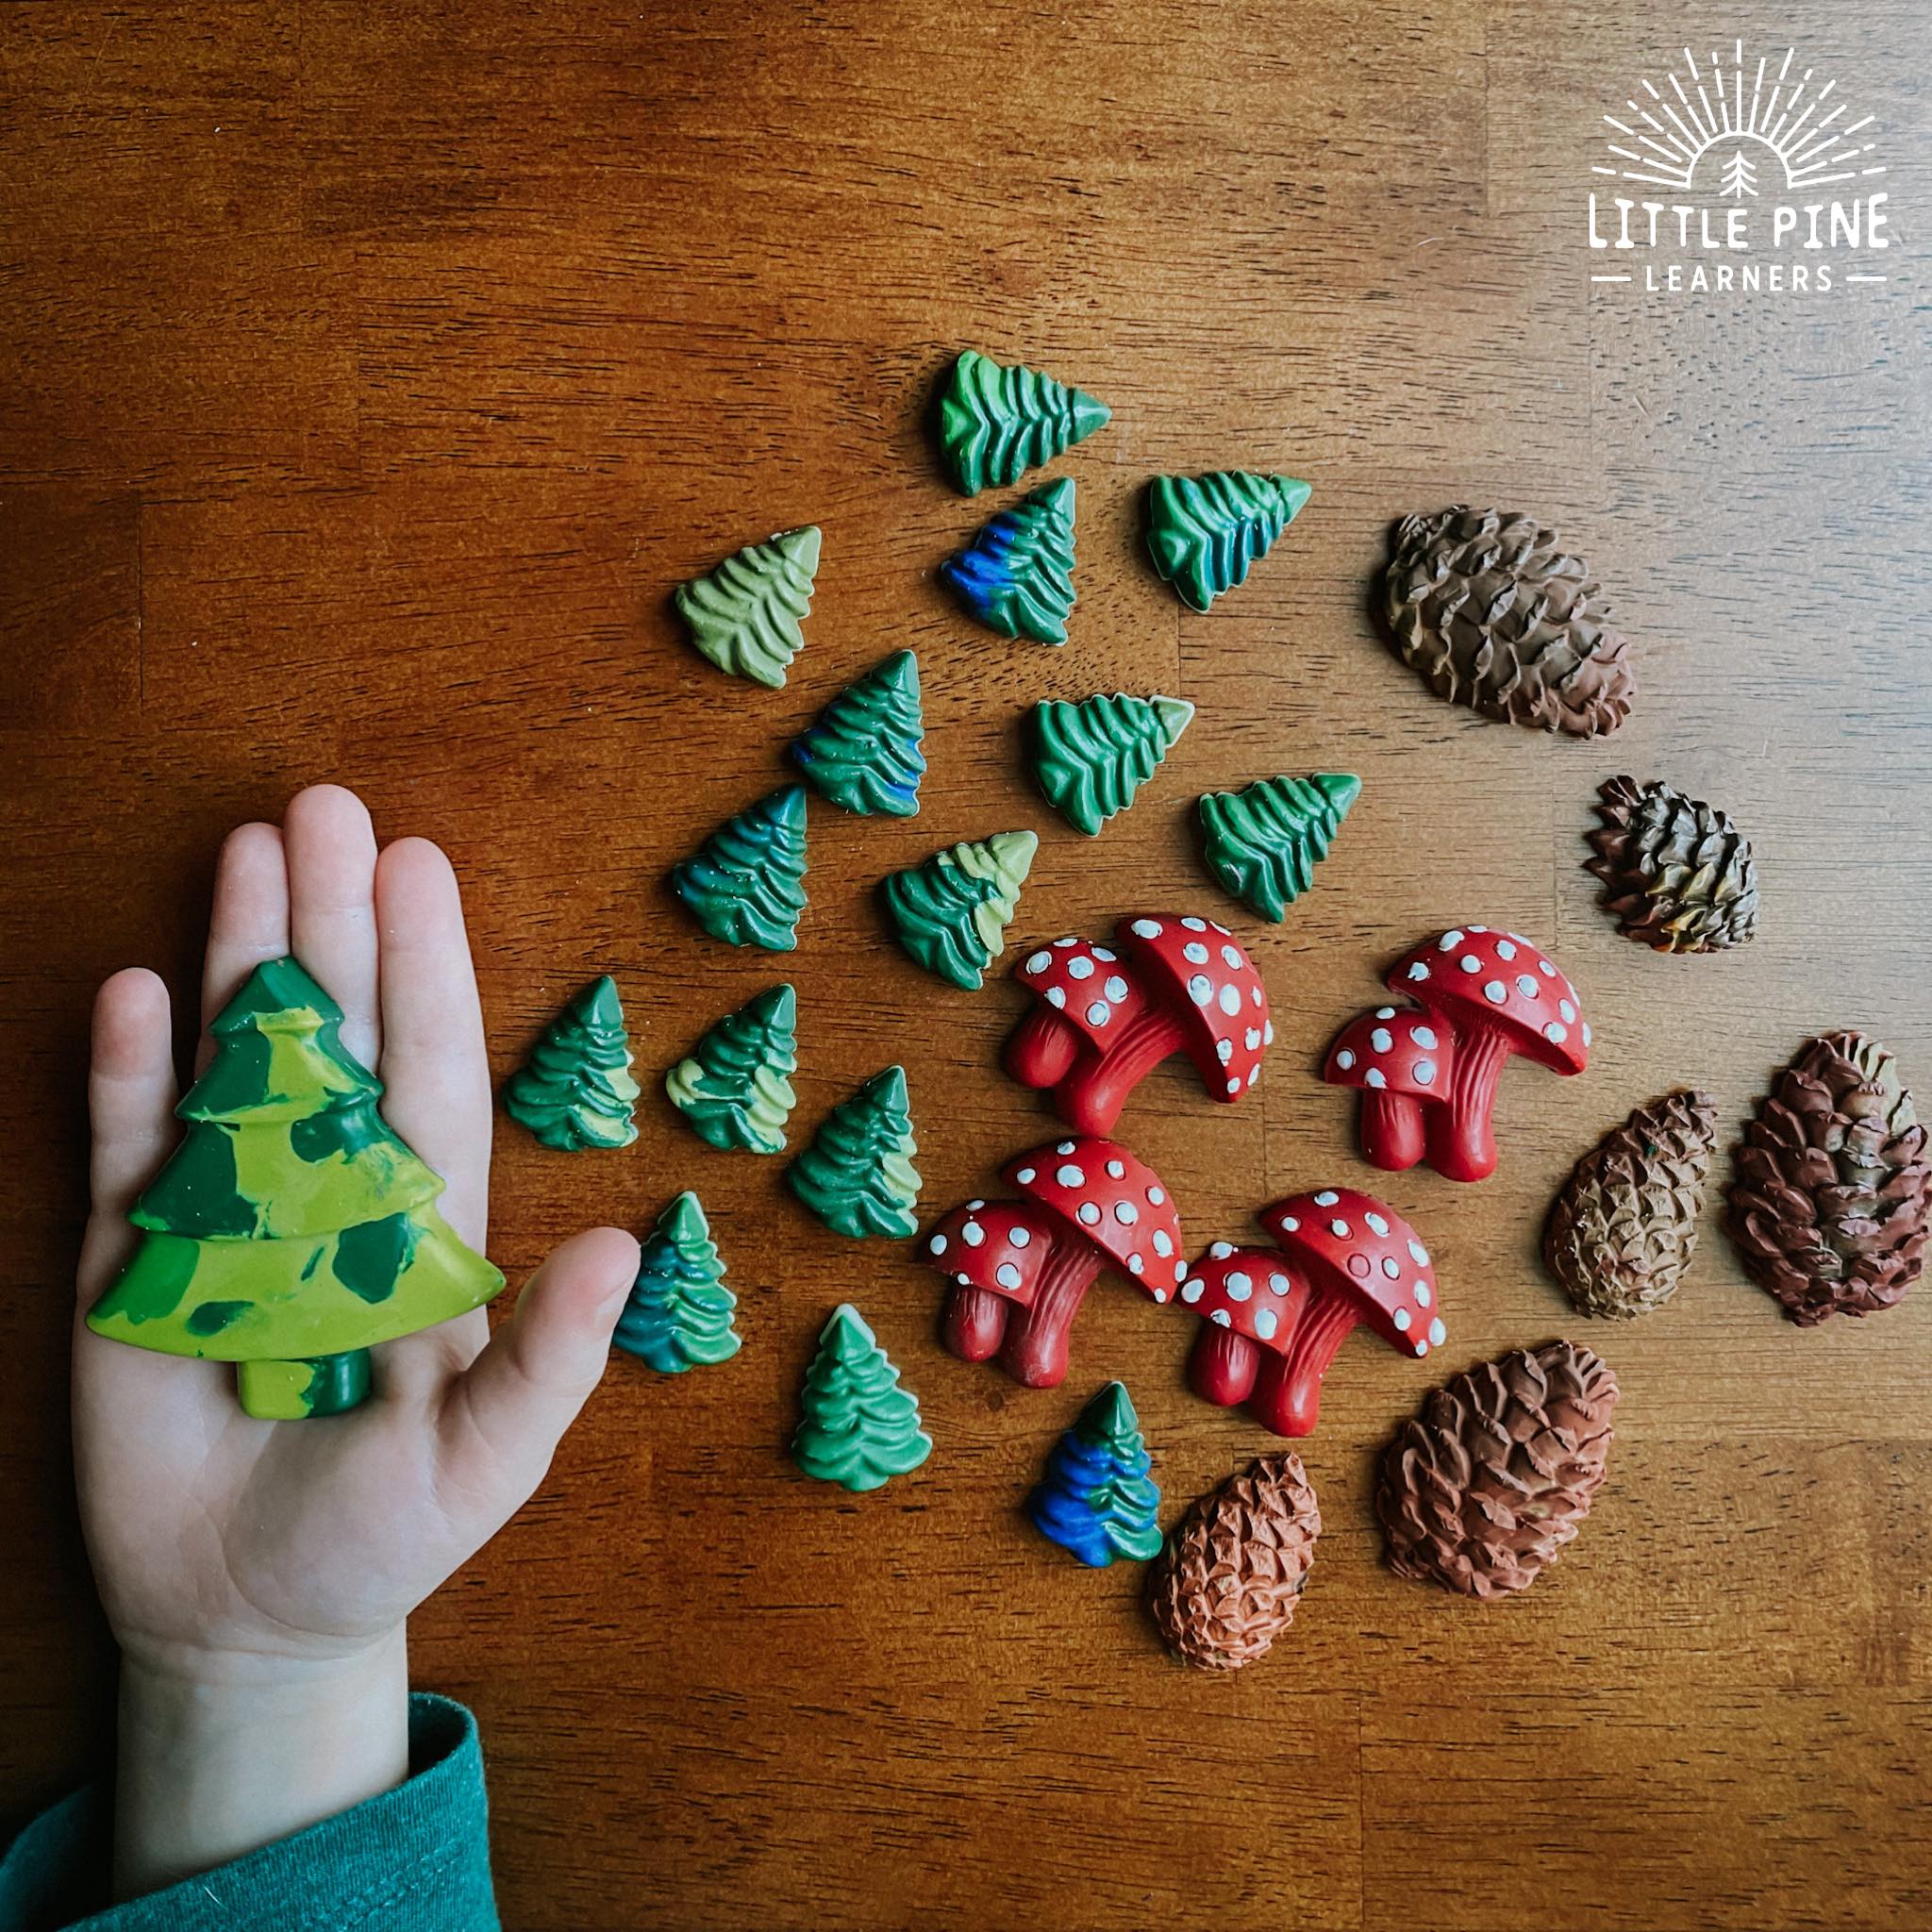
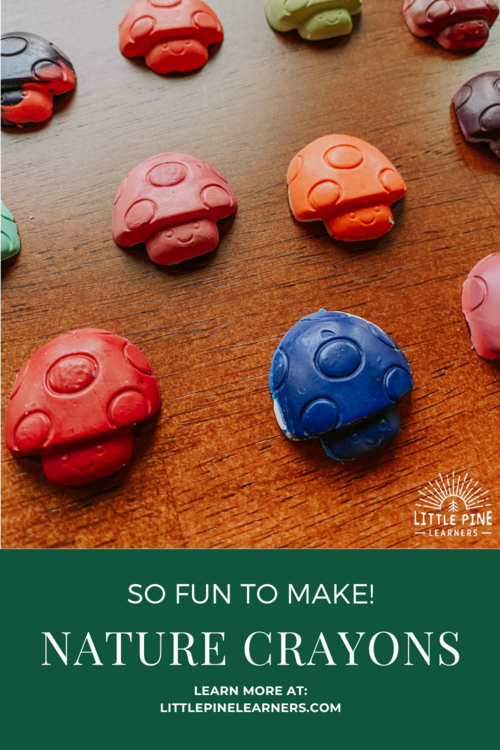
Repurpose old crayons by making these cute nature crayon shapes! They are SO easy to make and children absolutely love using them. They are chunky and easy for little hands to hold, but older children love them too. These homemade crayons make fun gifts and party favors!

It’s super easy to make your own crayons out of old, broken crayons. If you have a large project, you might want to consider buying bulk crayons, but I like to reuse old ones we have around the house and classroom. My boys loved helping with the process and were so excited to test them out!
Ready to make some crayon shapes? Here’s what you’ll need….
Supplies:
- Crayons– Melt old crayon pieces or buy new crayons for large projects
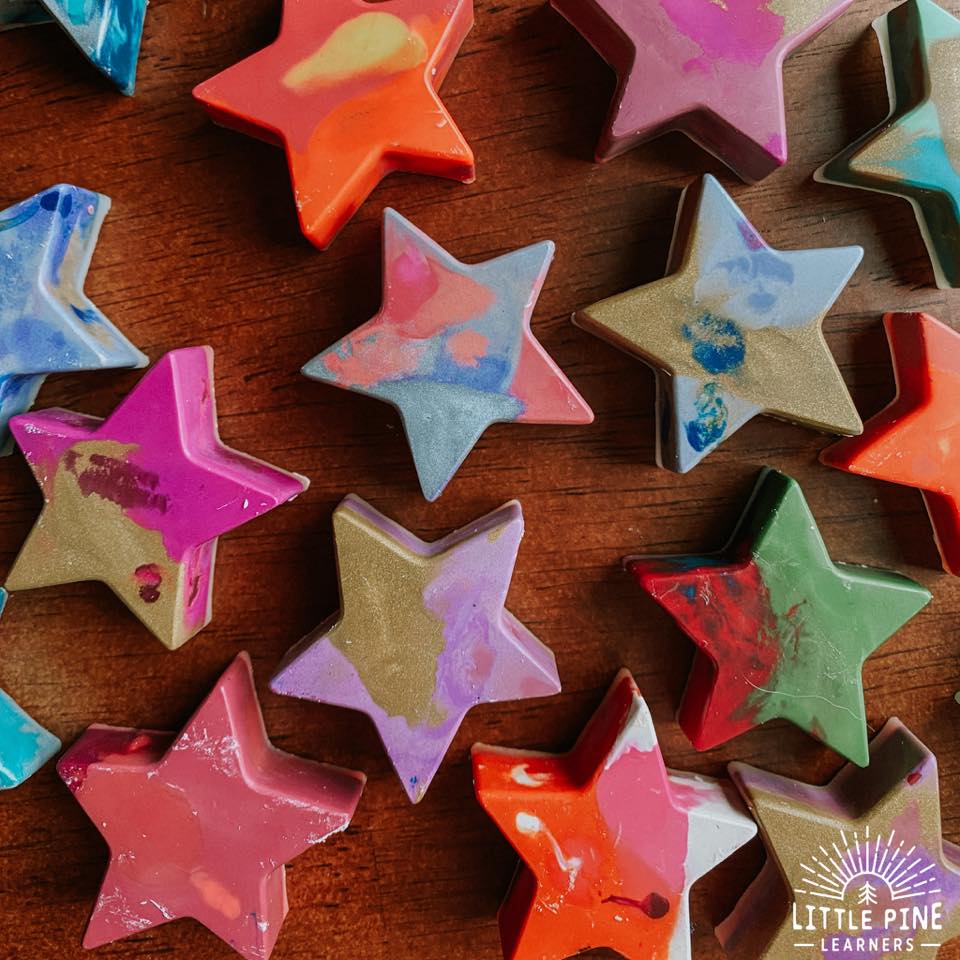
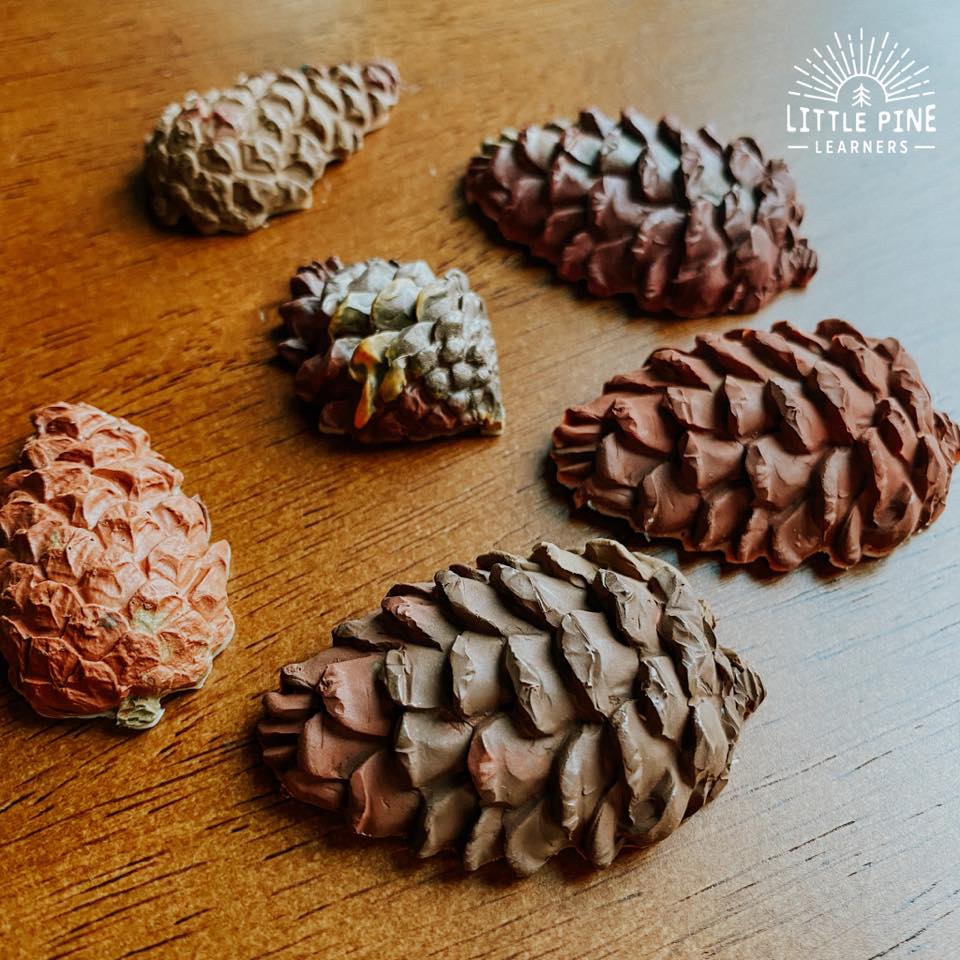
- Silicone molds- We used these molds: large pine tree, small pine tree, pine cone, mushroom, and stars (I don’t have a link for the stars, but there are many options on Amazon)
- Container for soaking crayons
- Paper towel
- Parchment paper
- Baking sheet
This post contains Affiliate links for your convenience.
RELATED: Check out 10+ Simple and Beautiful Stone Activities for Kids!
Here’s How We Made These Nature Crayon Shapes:
Step 1:
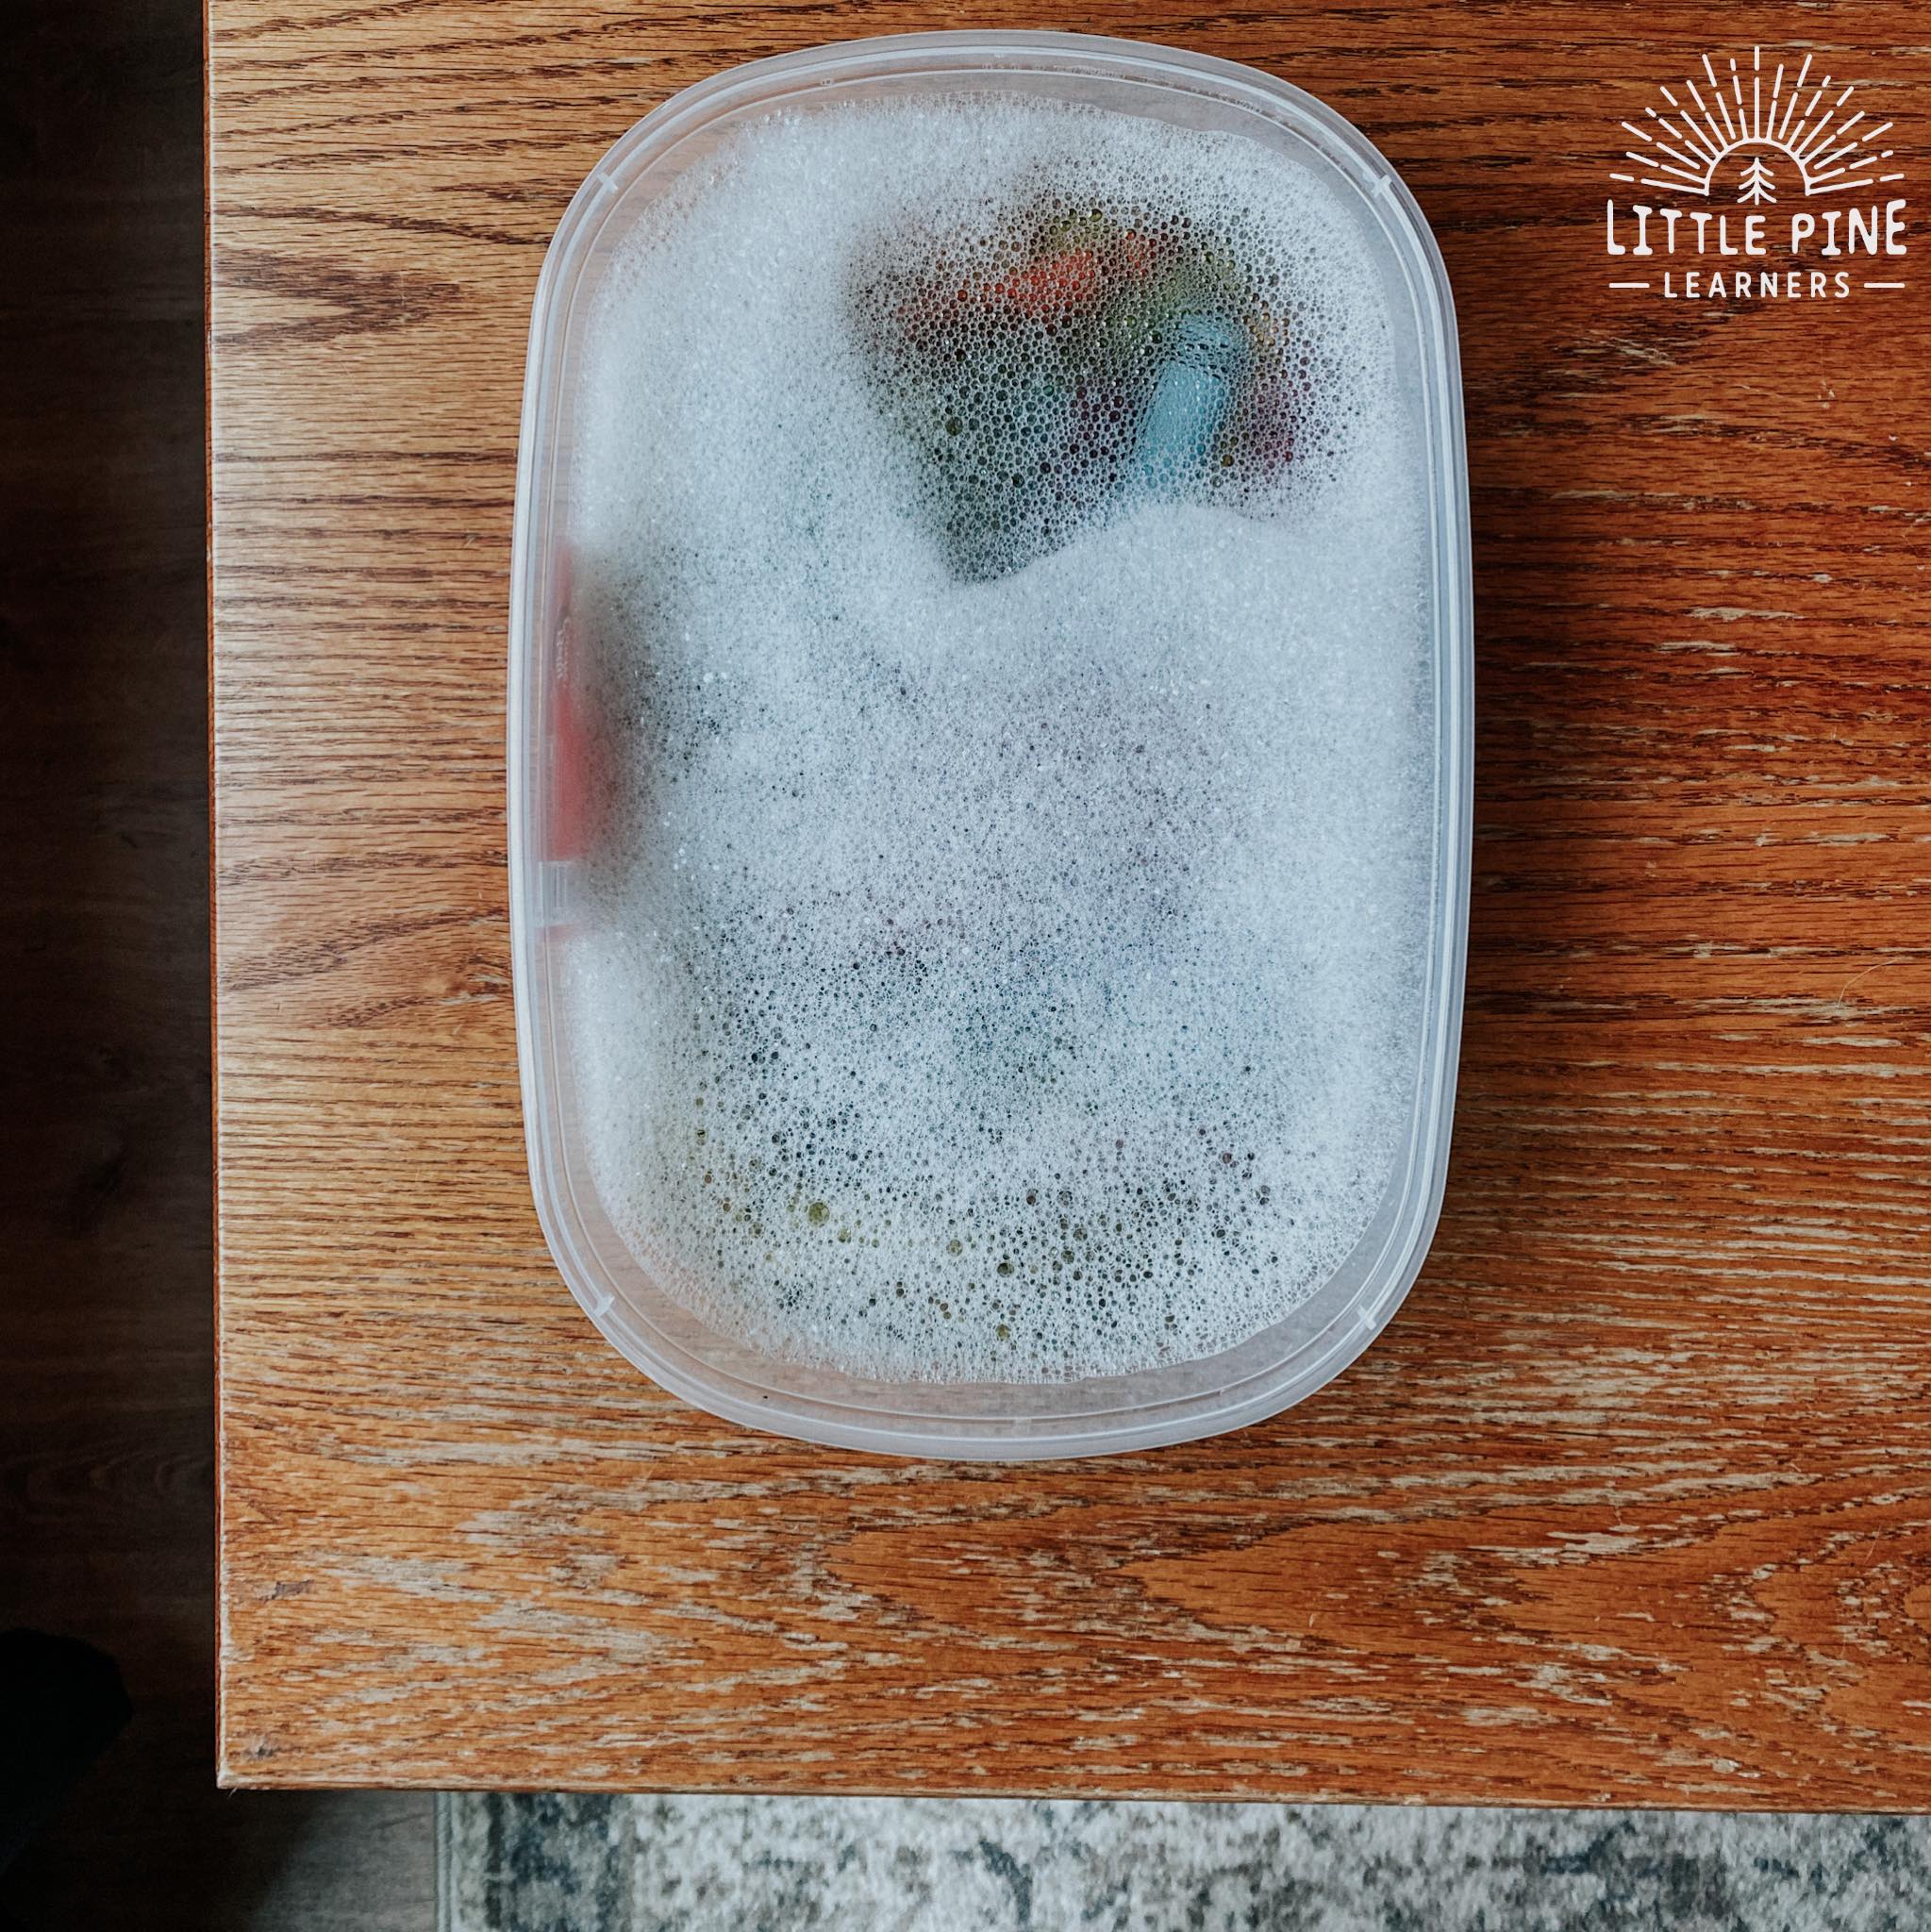
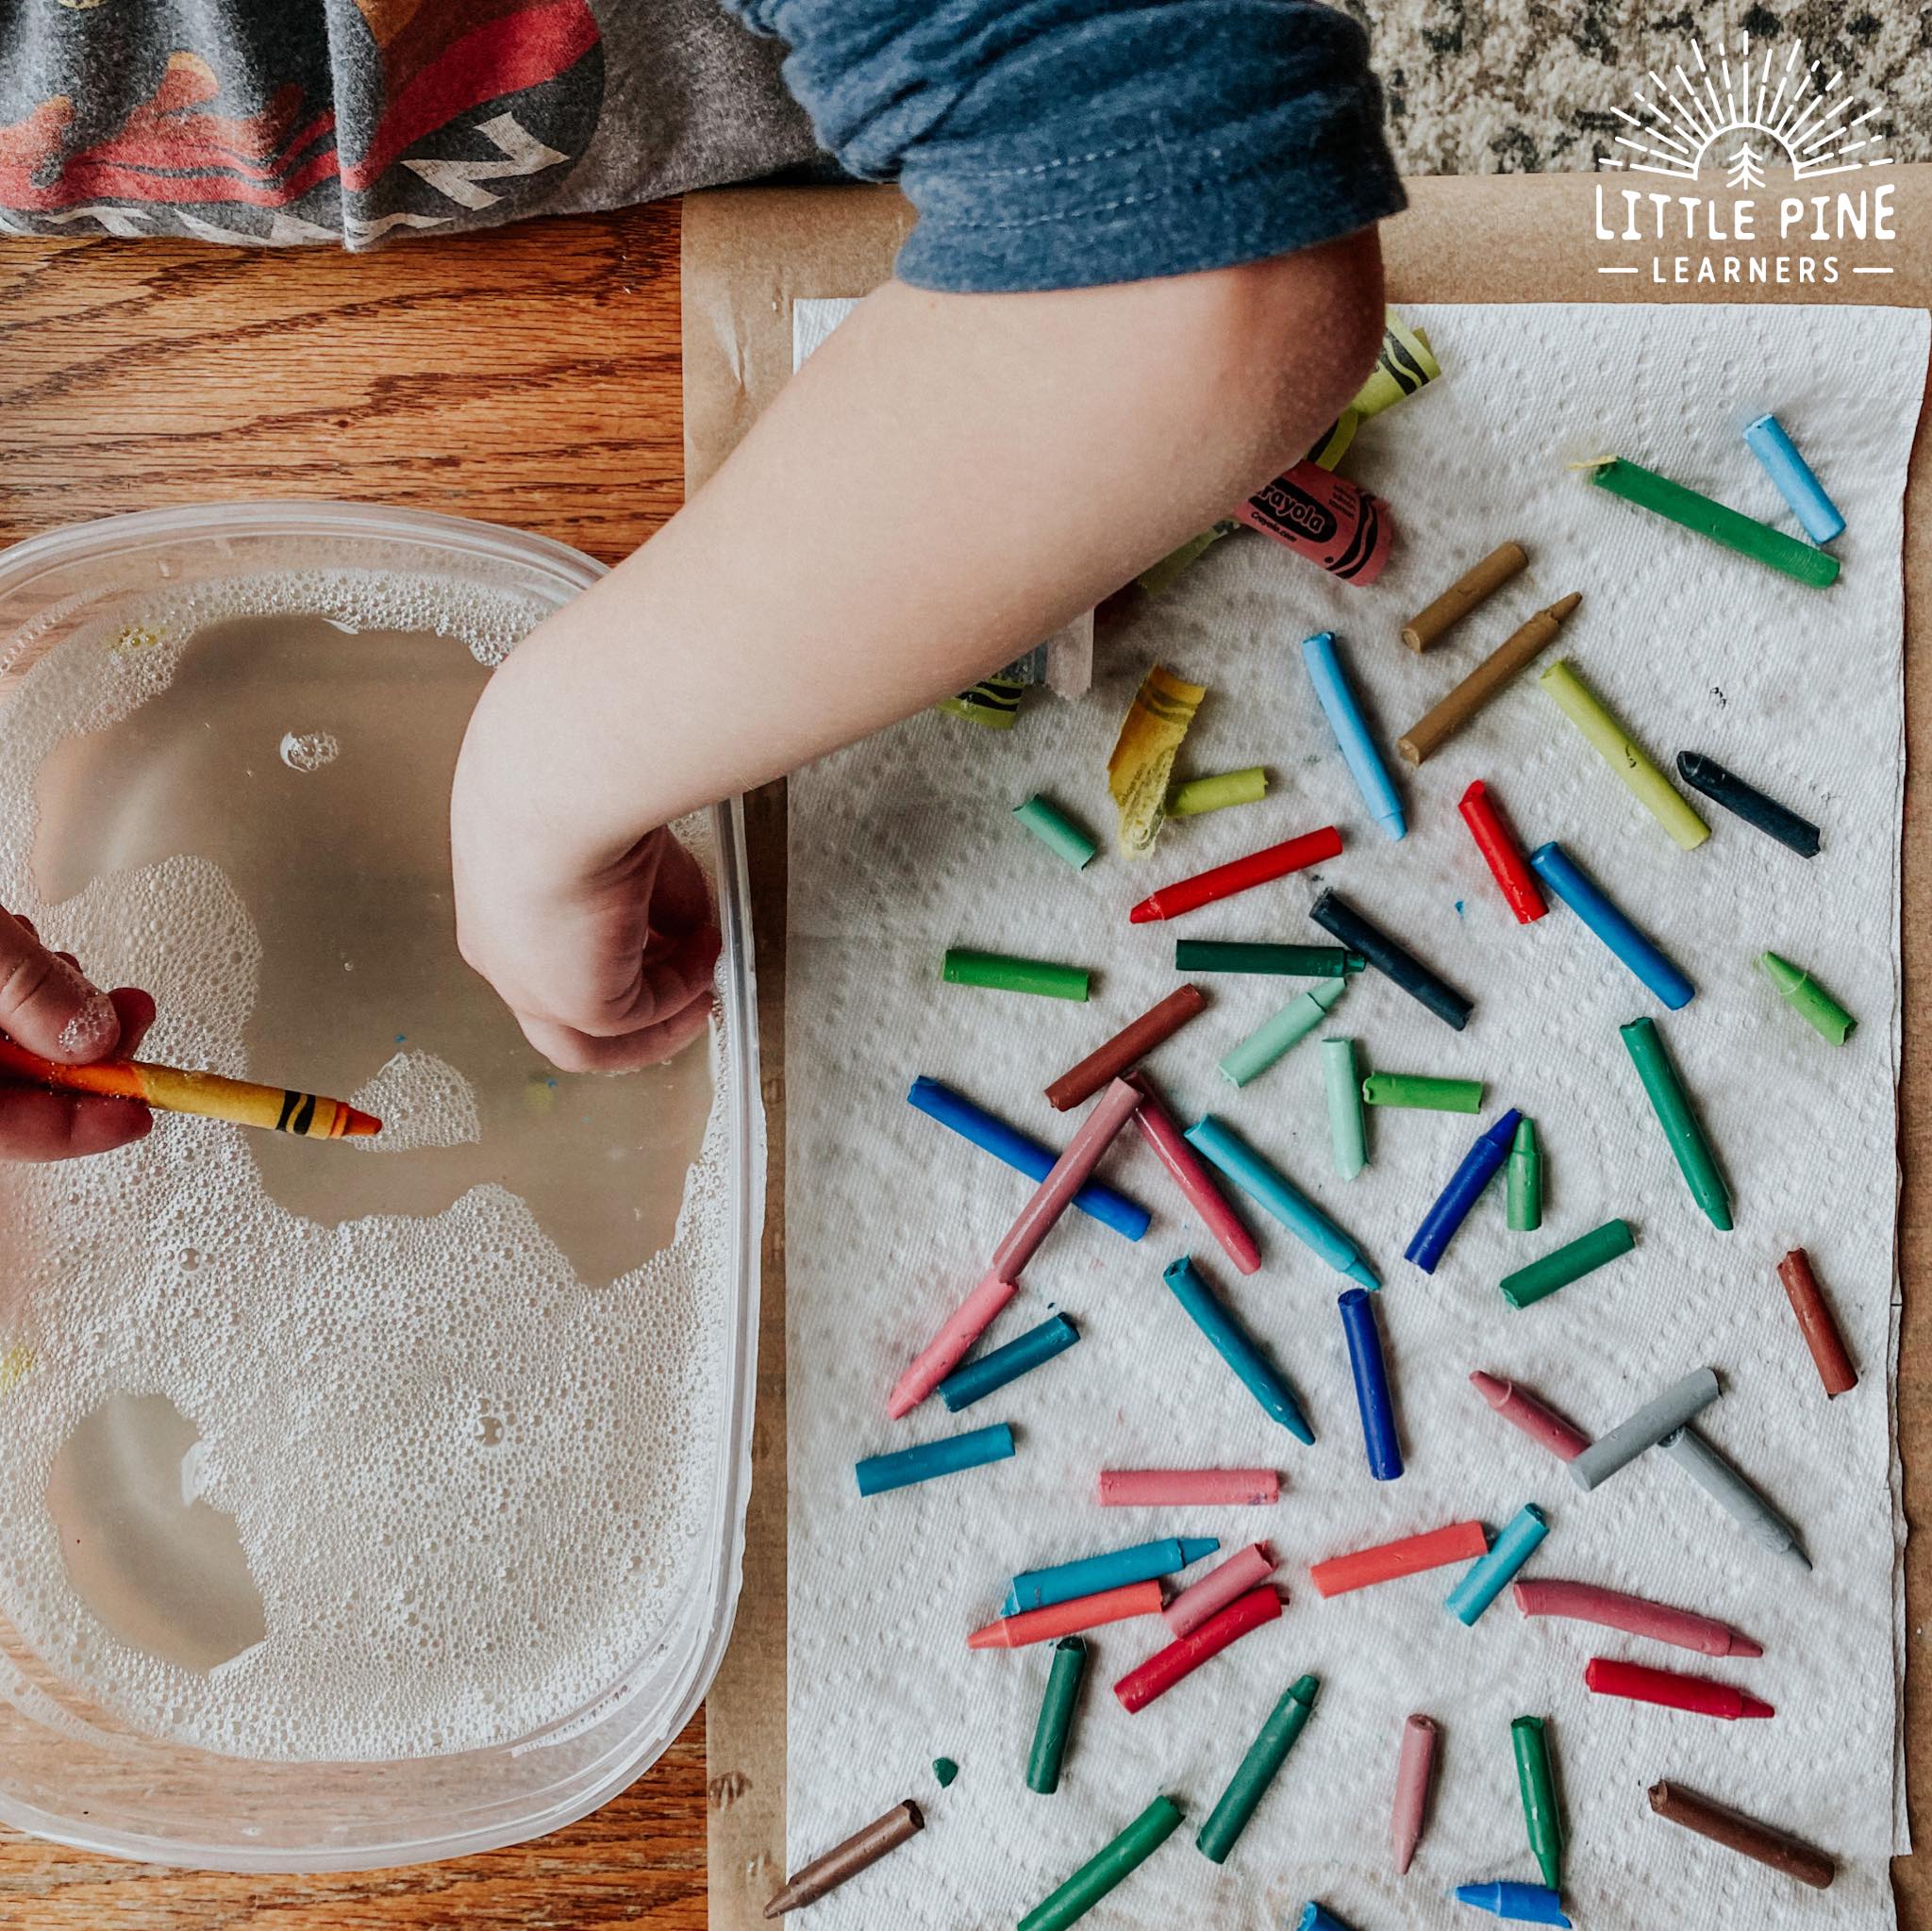
First you need to peel off the labels on the crayons. We soaked our crayons in soapy warm for about 20 minutes. If they the labels don’t fall off, let them soak longer. I found the labels on washable and generic crayons were more difficult to peel off.
Step 2:
Peel off all of the labels and let the crayons dry.
Step 3:
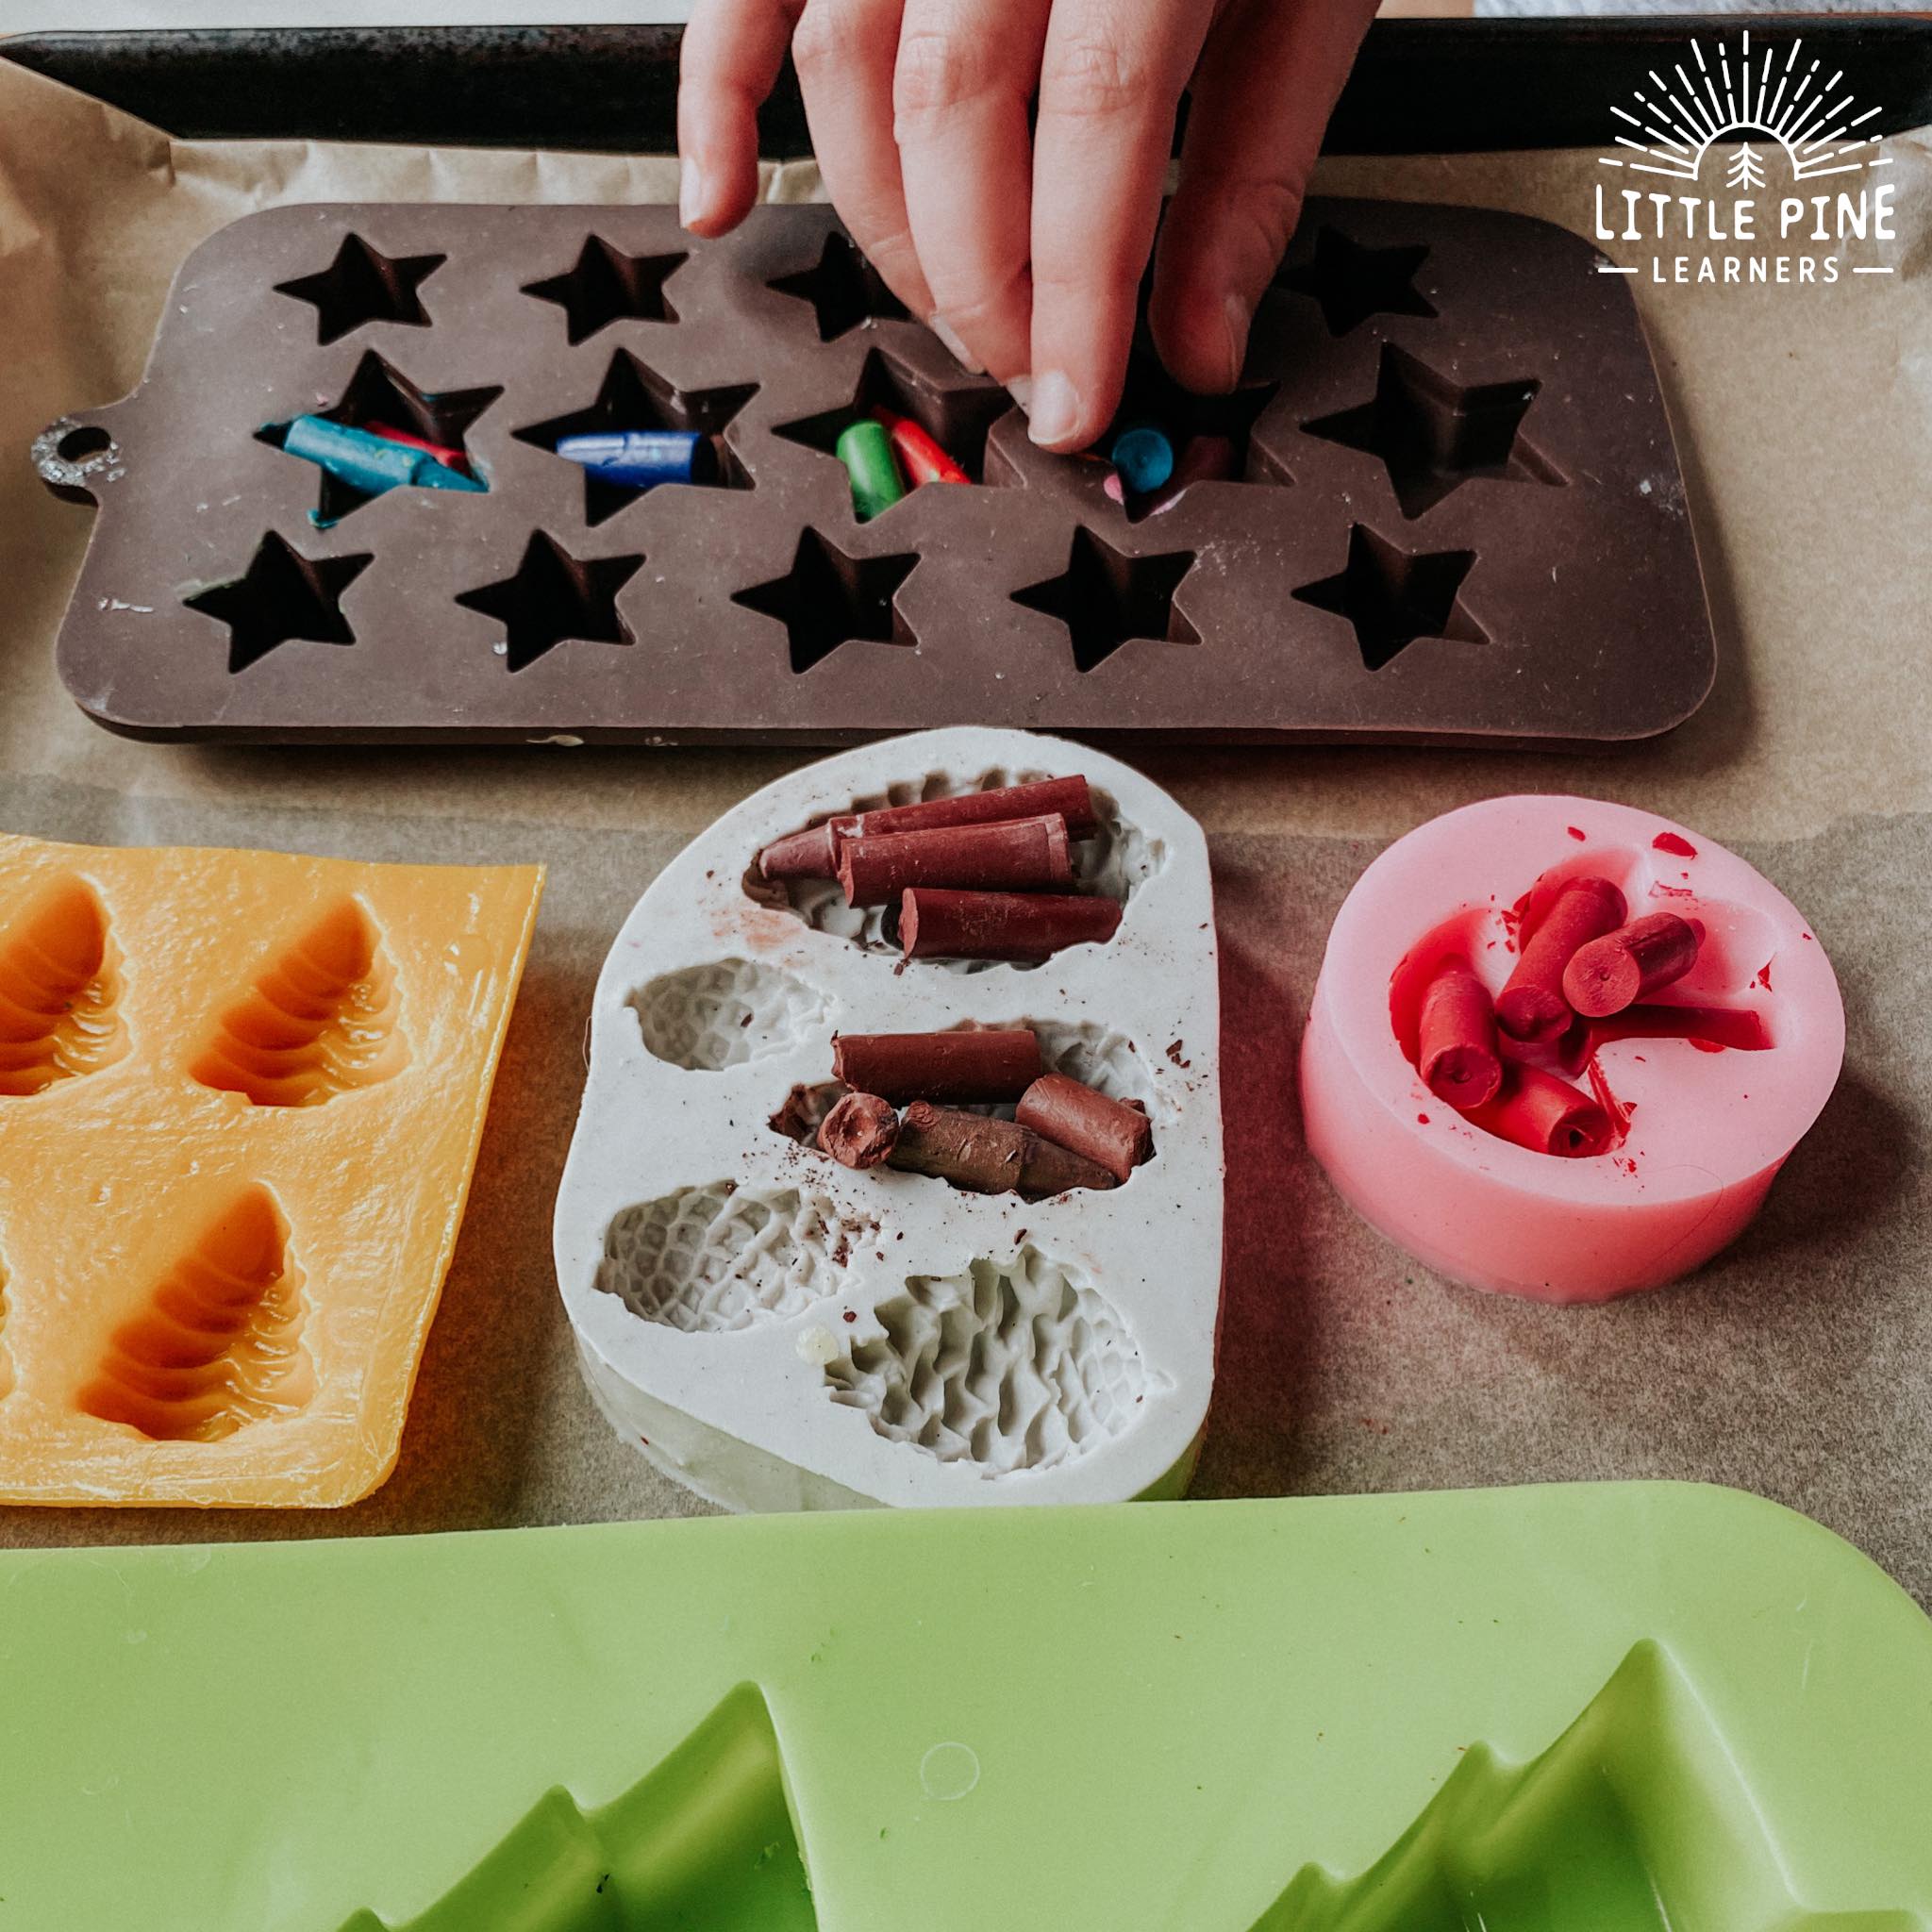
Place a piece of parchment paper on your baking sheet to protect it from melted crayons. Brake the crayons into pieces that are small enough to fit inside the molds. I suggest trying different crayon color combinations! You can’t go wrong and it’s fun to see how they turn out.
Step 4:
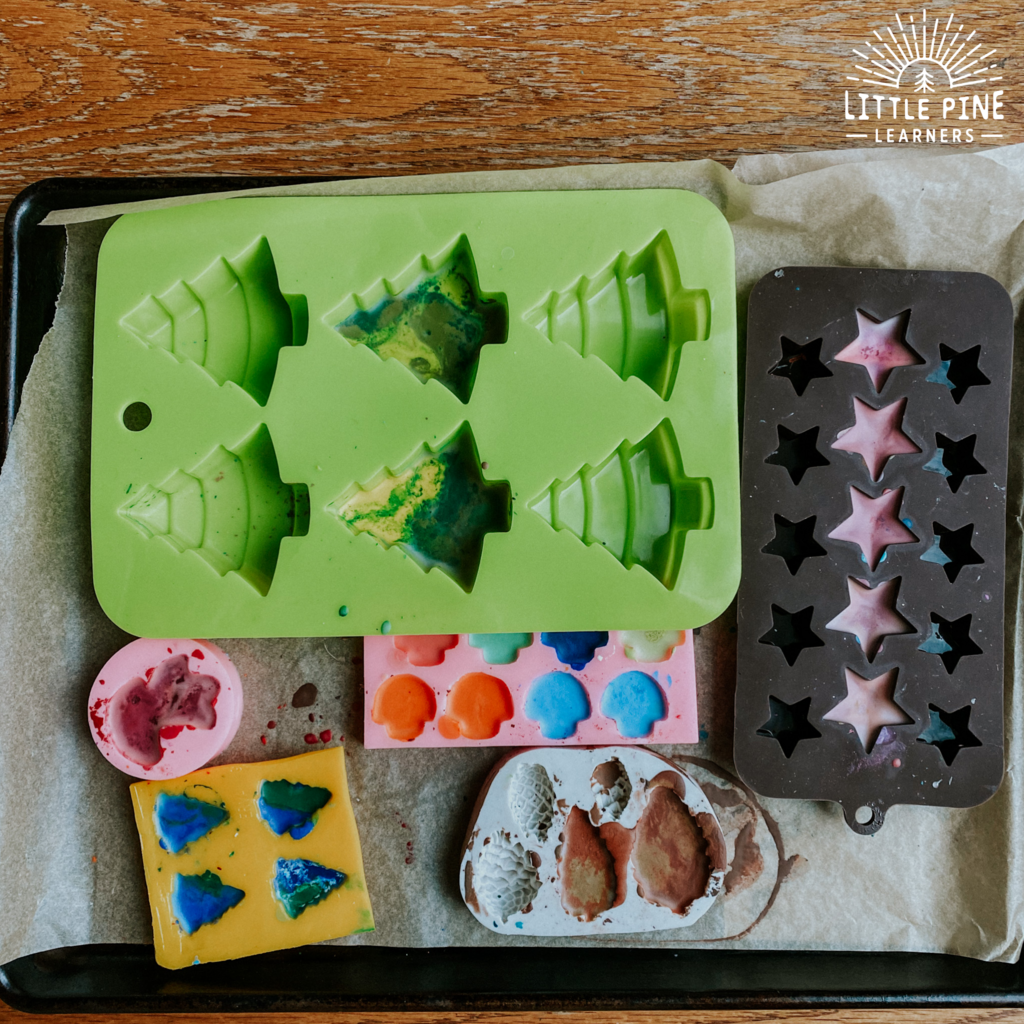
Place the molds in the oven. I set my oven for 225 degrees Fahrenheit and baked the crayons for about 20 minutes. The time will vary depending upon the size of the molds and the amount of crayons that are inside the molds. You might need to add more crayons during the melting process, so keep and eye on the crayon level as it melts. Remove the baking sheet from the oven once the crayons are completely melted into a liquid.
Be very careful when taking the baking sheet out of the oven because the silicone molds and wax will be very hot! I placed the entire baking sheet on a cooling rack, but you can also place it on the stove top.
Step 5:
Pop the crayons out of the mold once they are completely cooled down and they are ready to use!
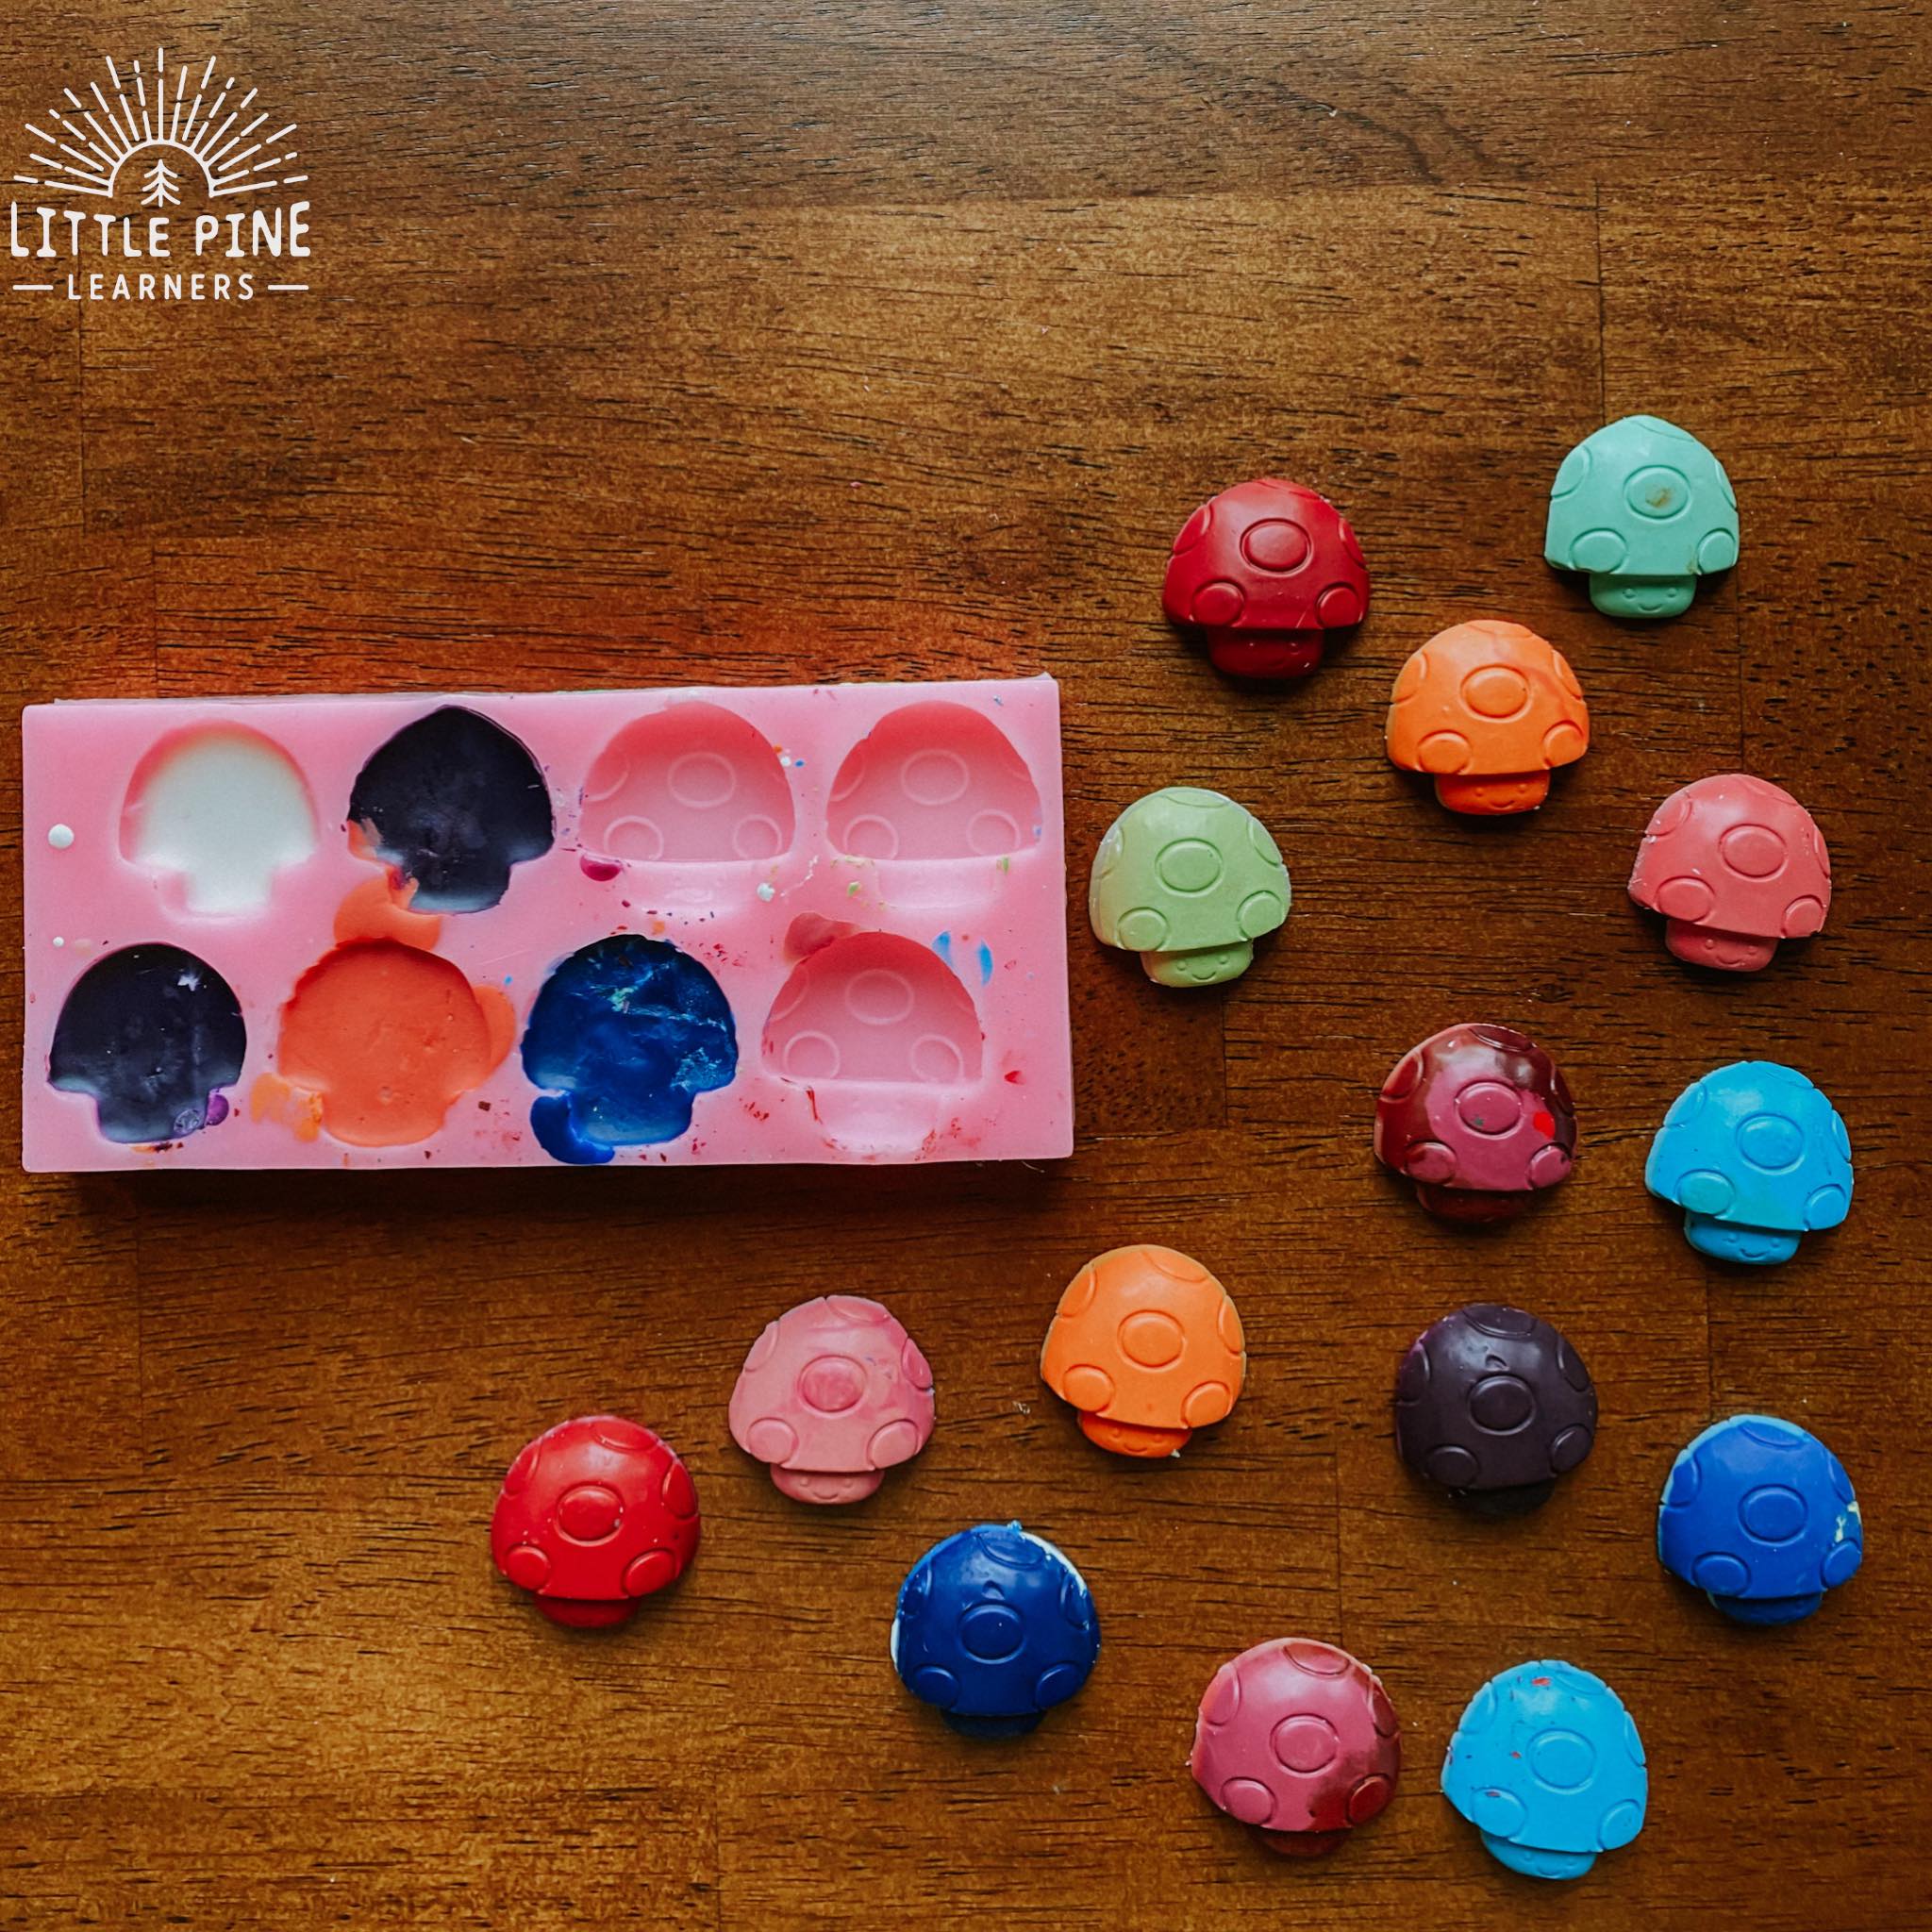
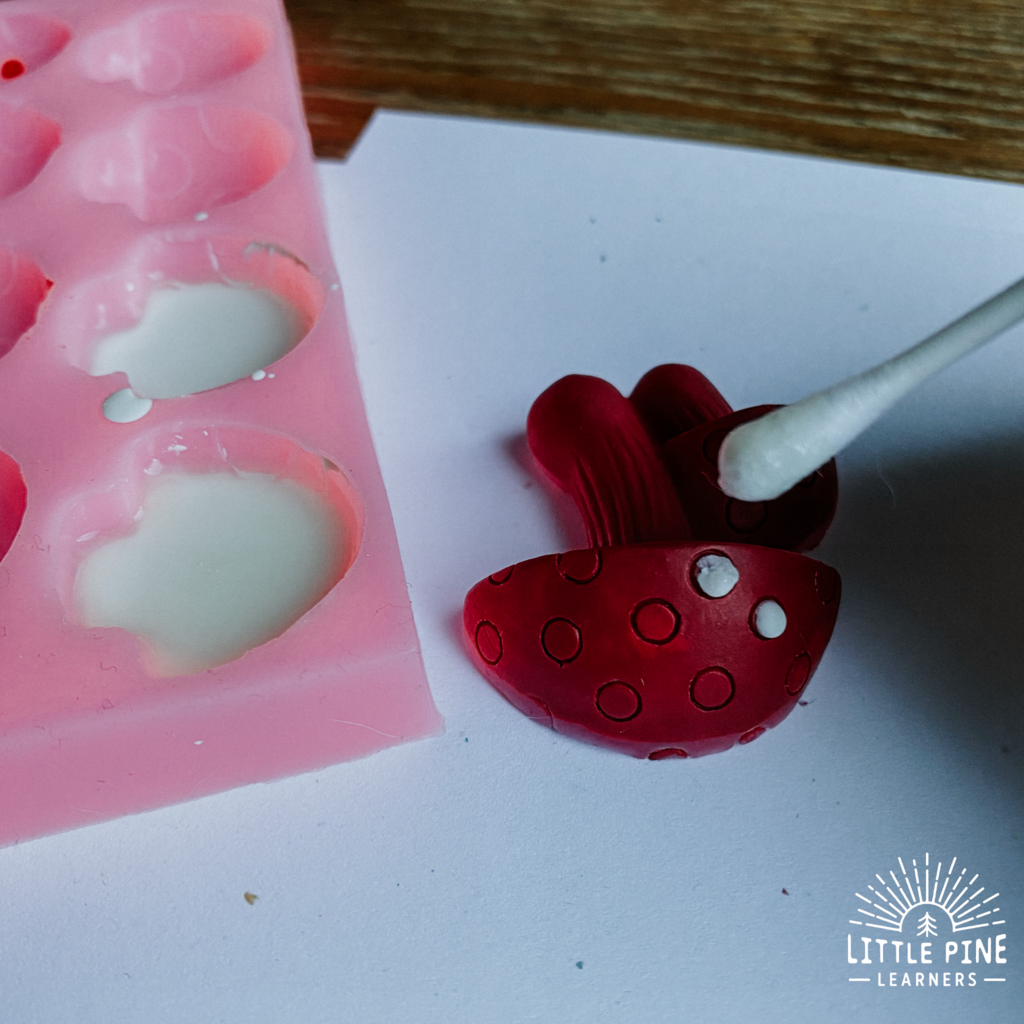
We added little white dots to our mushrooms! First make your mushroom crayons and let them completely dry. Then melt a white crayon and add little white dots with a Q-tip!
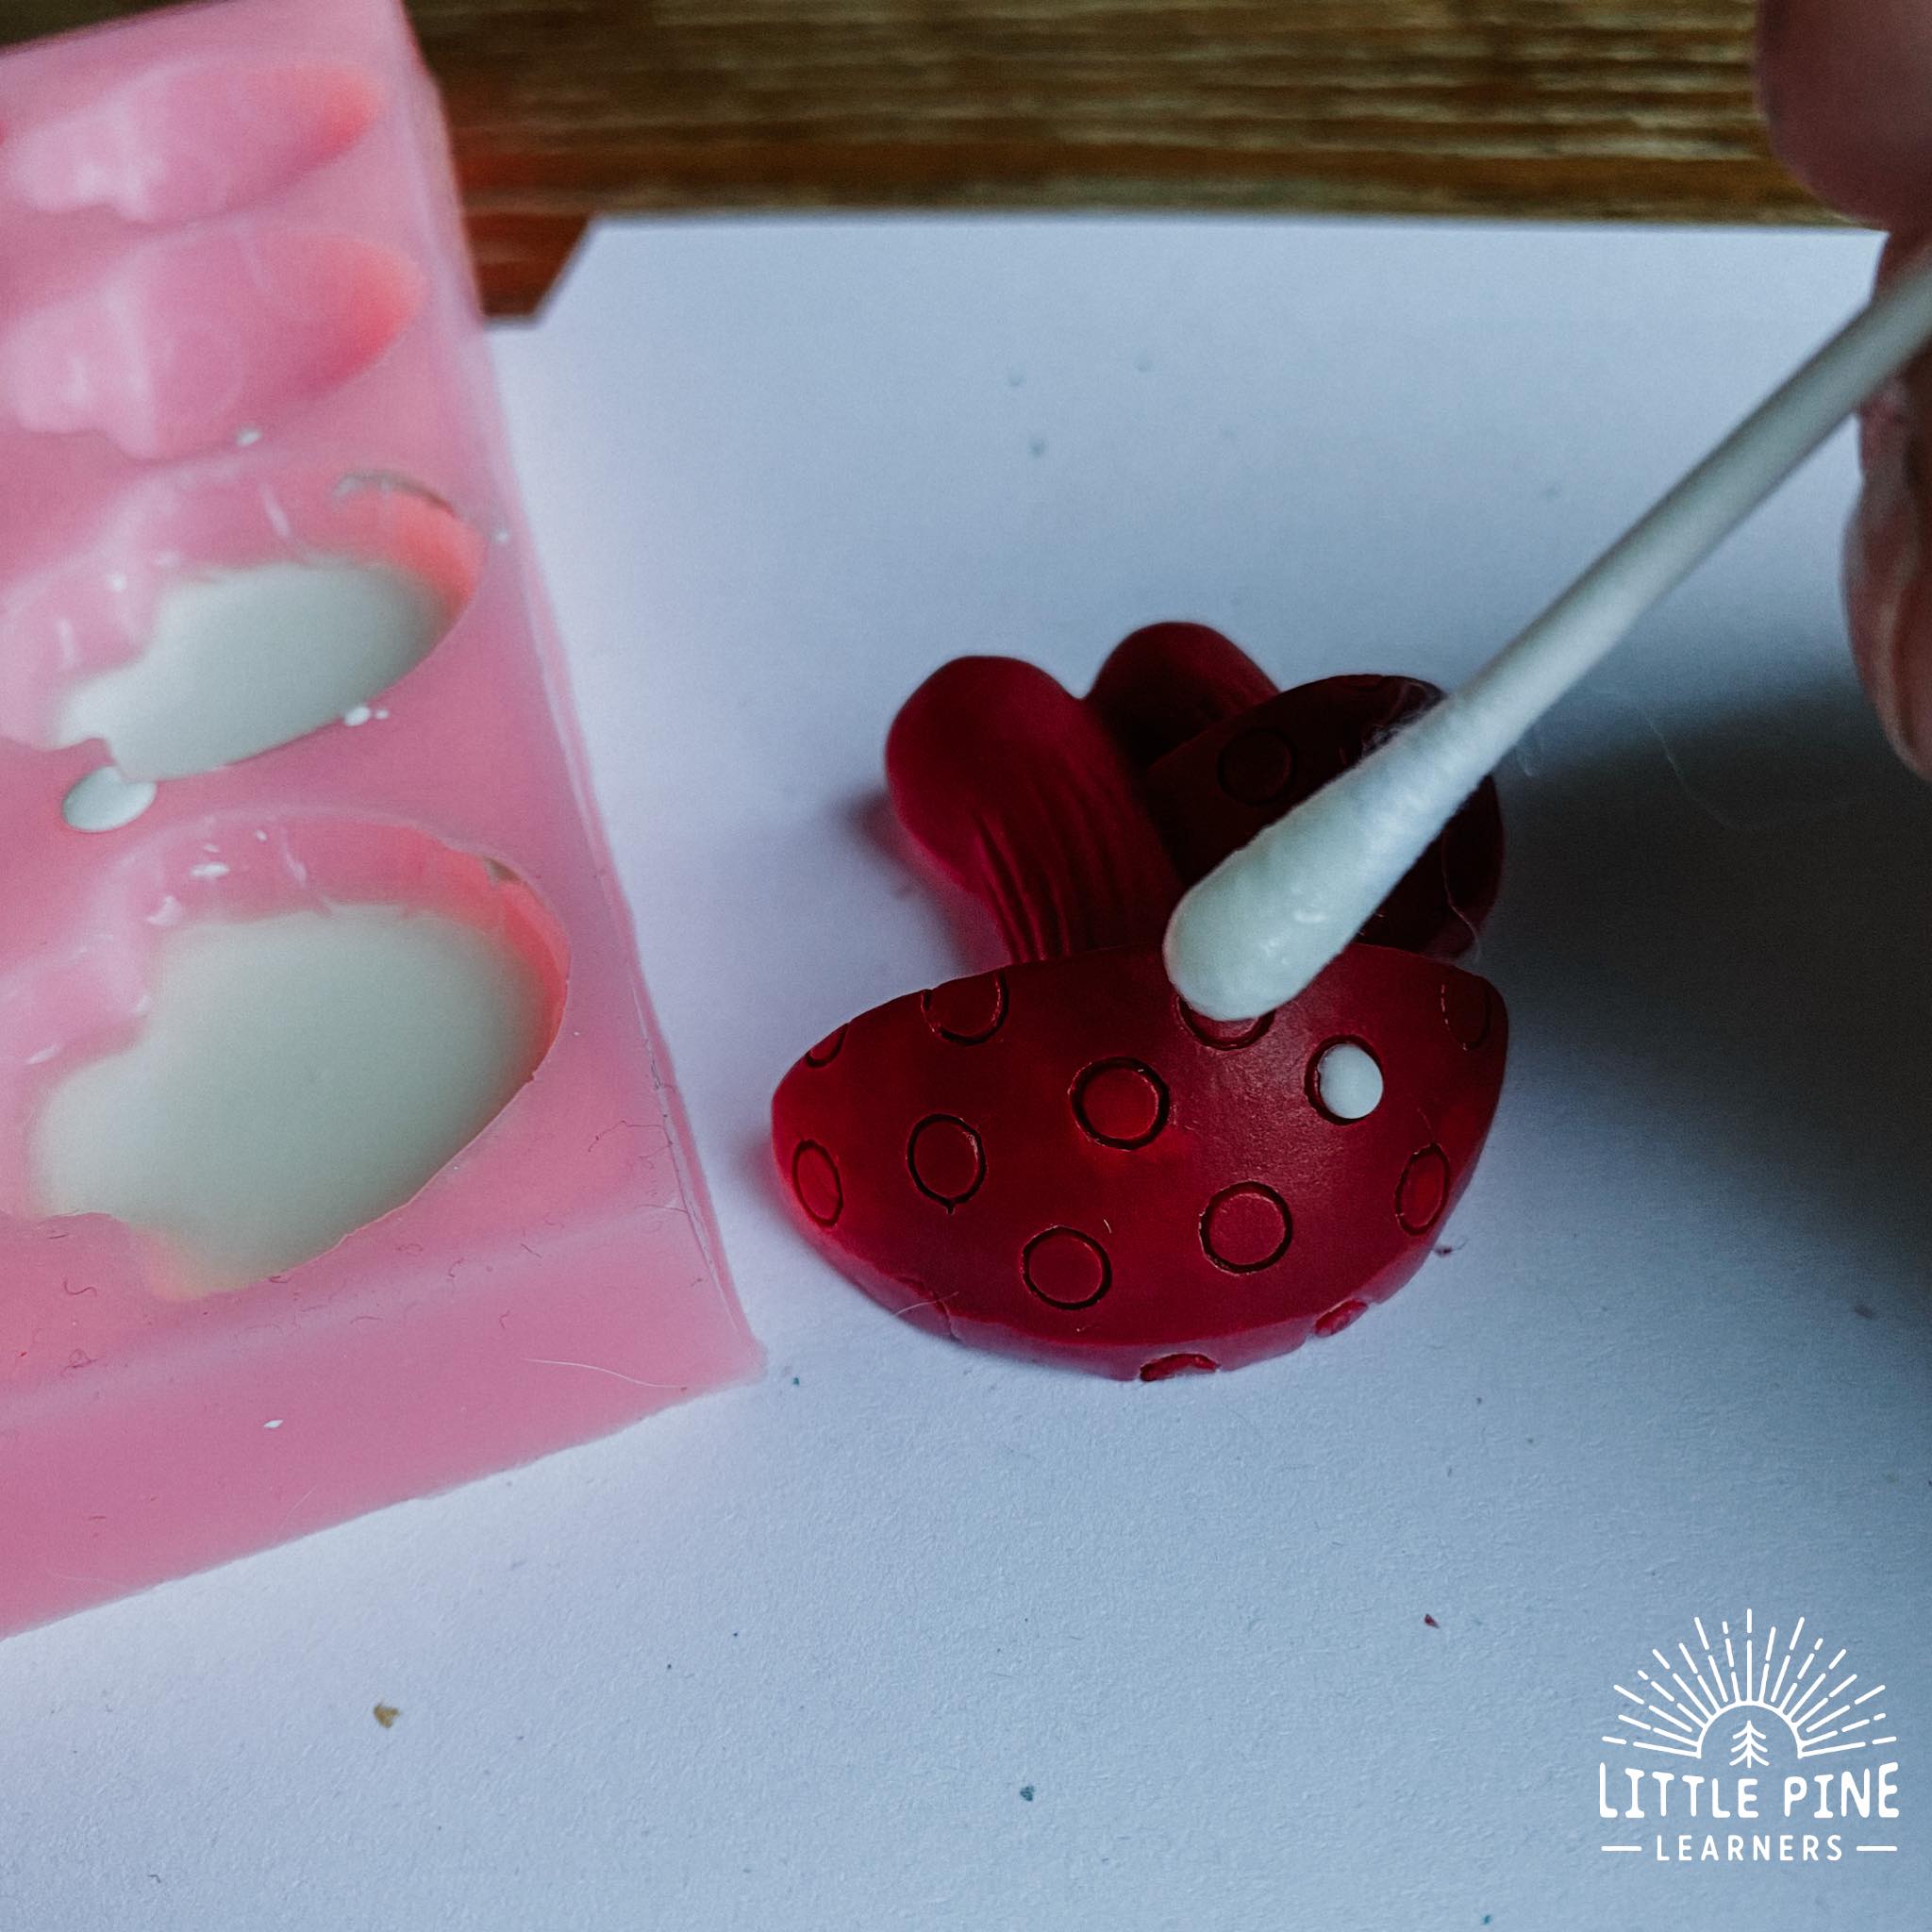
It doesn’t need to be perfect!
We loved making these and it’s so tough to figure out our favorite crayon shape! Which one is your favorite?!
Pin this activity to save it for later!
I hope you give this crayon project a try! I promise, your little nature lovers will love this activity as my boys.
∼Tara